We walk you through all the steps
Do you want to completely remove VirtualBox from your Microsoft Windows PC? That’s most likely because Windows Update keeps telling you to delete it due to a compatibility issue.
There are several ways to uninstall VirtualBox in Windows 10 and 11, and this post will walk you through them. Skip to the section that discusses removing VirtualBox using a software removal utility if you want to remove all associated registry entries.
Table of Contents

Method 1: Uninstall VirtualBox via Apps and Features Pane
The most straightforward way to uninstall Oracle VM VirtualBox is to use the Apps & Features console in Windows Settings.
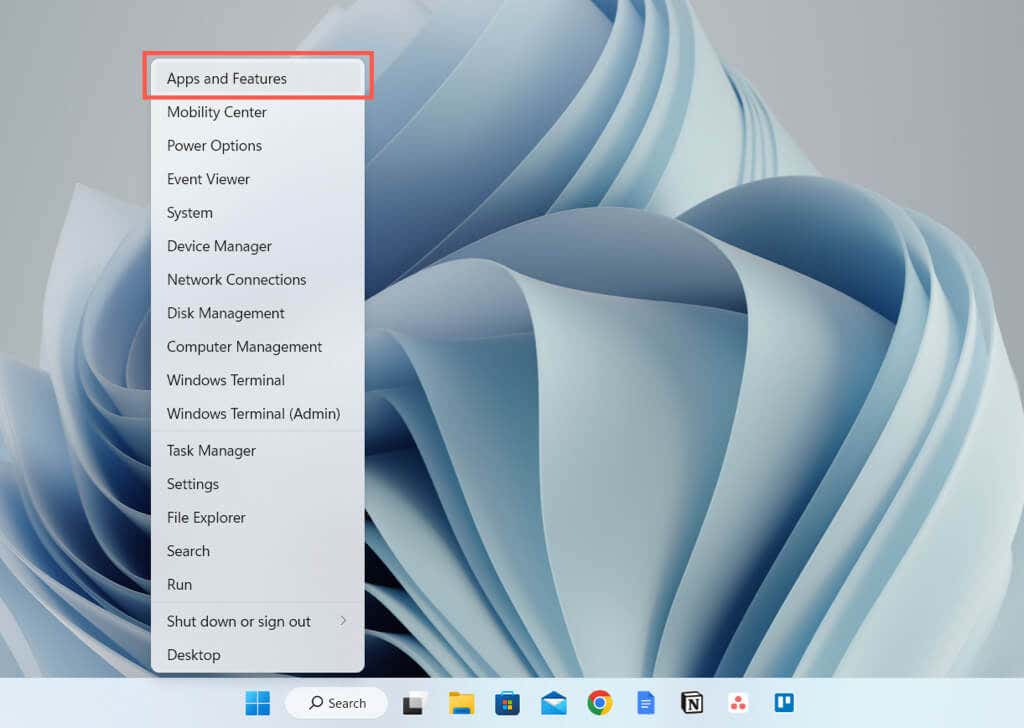
- Right-click the Start button and select Apps and Features.
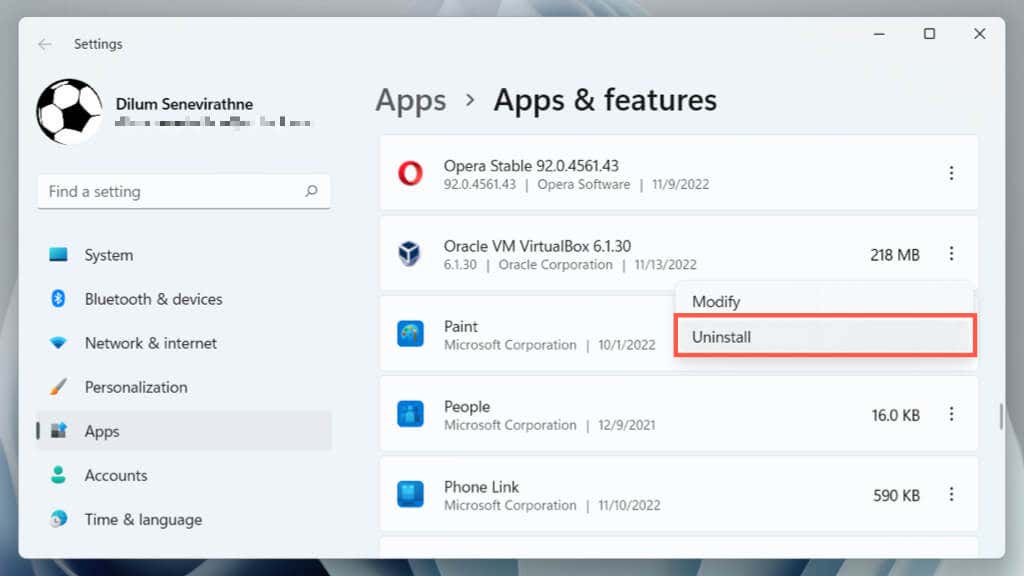
- Scroll down and select Oracle VM VirtualBox [Version Number].
- Select Uninstall.
Method 2: Uninstall VirtualBox via Control Panel
Alternatively, use the older Programs and Features pane in the Windows Control Panel to remove VirtualBox.
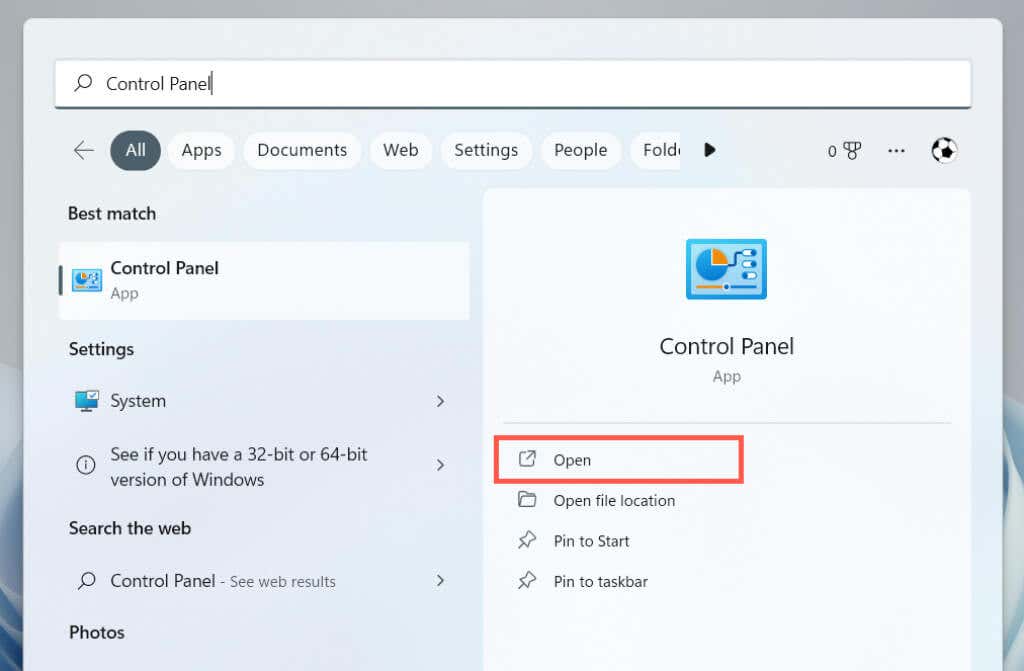
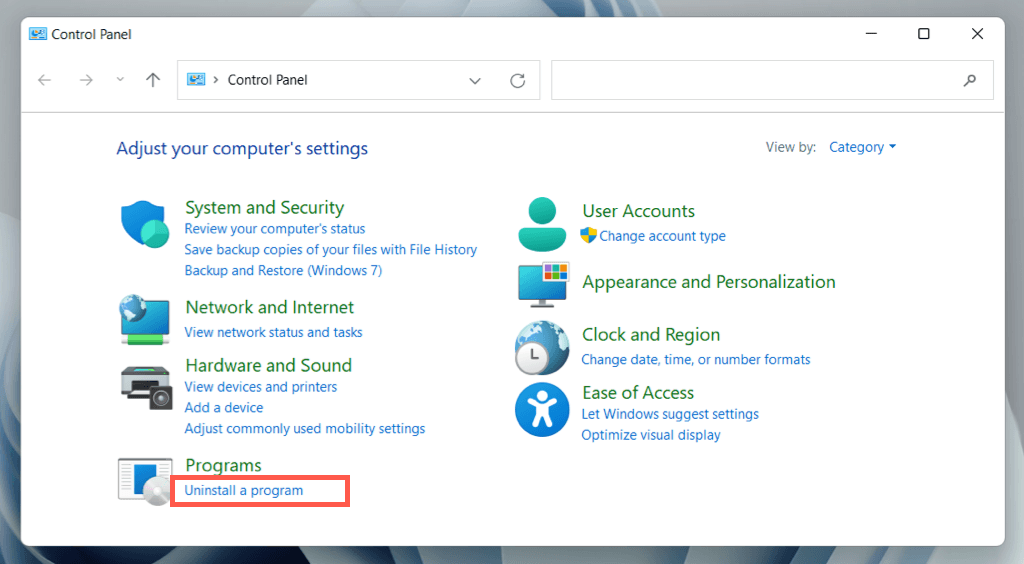
- Open the Start menu, type Control Panel, and press Enter.
- Select Uninstall a Program.
- Select Oracle VM VirtualBox and choose Uninstall.

Method 3: Uninstall VirtualBox Using Its Windows Installer
If VirtualBox doesn’t appear within the Settings app or the Control Panel, use the Virtualbox installer to remove the program.
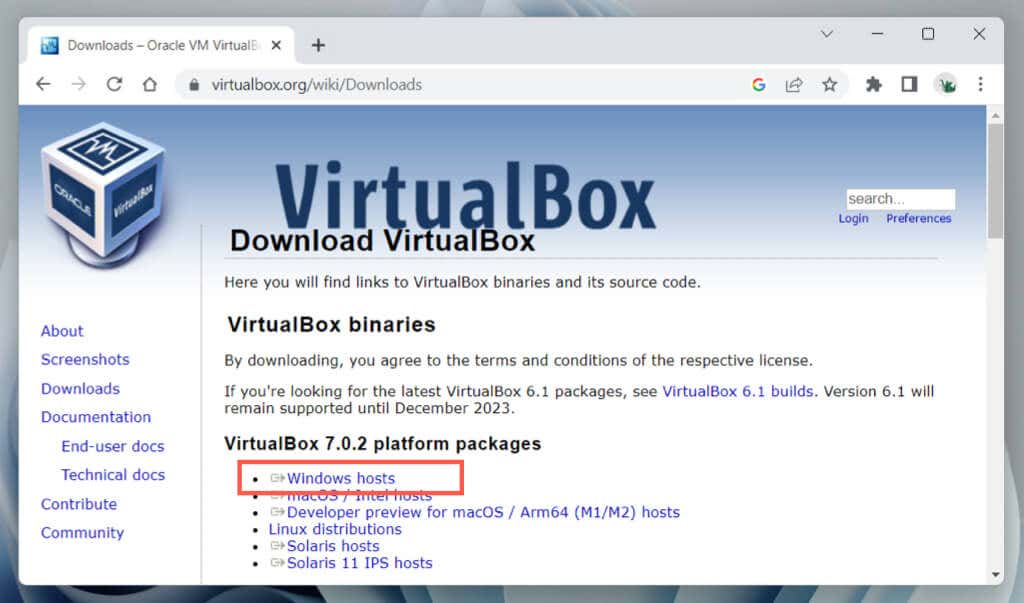
- Download VirtualBox from VirtualBox.org.
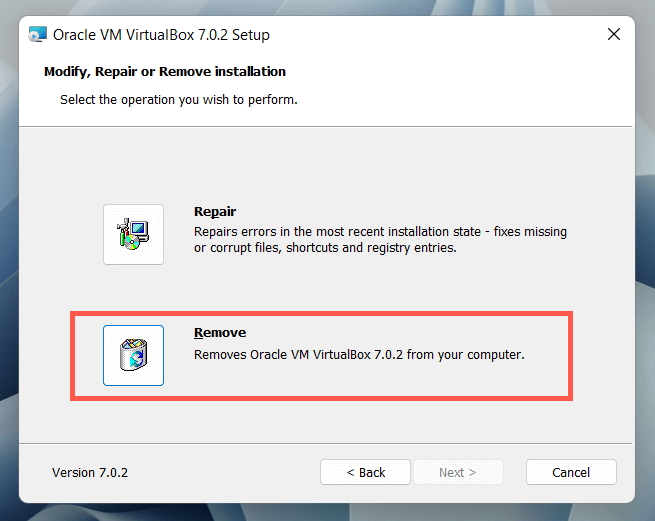
- Run the executable (EXE) setup file and update VirtualBox.

- Run the same setup file again, but this time, select Remove.
Method 4: Uninstall VirtualBox via Windows PowerShell
Another way to remove VirtualBox is through the Windows PowerShell console.
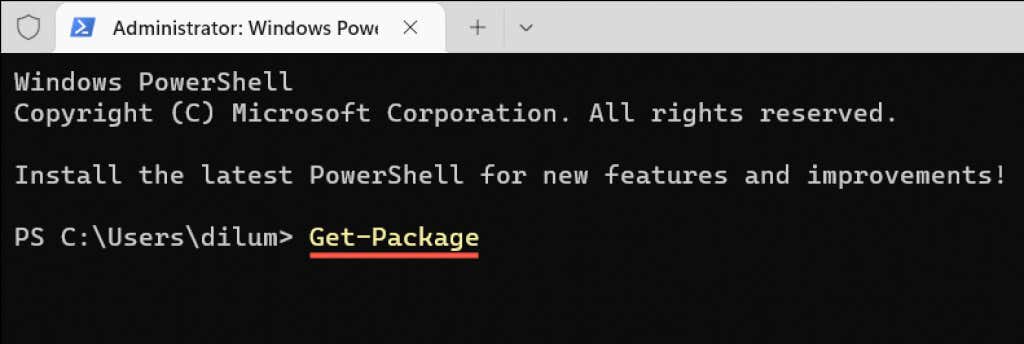
- Right-click the Start button, choose Windows PowerShell/Terminal (Admin).
- Select Yes on the User Account Control pop-up.

- Type Get-Package and press Enter.
- Note down the VirtualBox version number.

- Type Uninstall-Package -Name “Oracle VM VirtualBox [Version Number],” replacing [Version Number} with the number from the previous step.

- Press Enter.
Method 5: Uninstall VirtualBox Using a Software Removal Tool
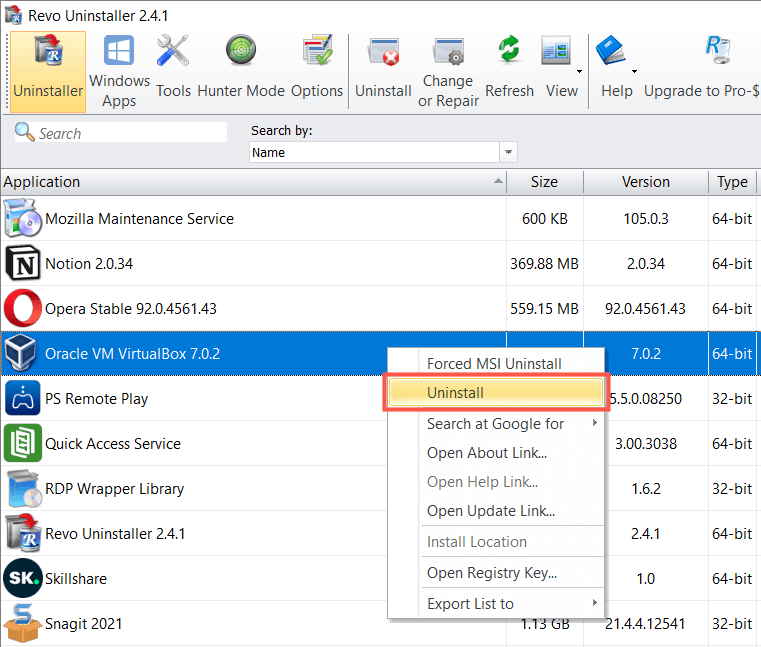
Use a dedicated software removal utility to remove VirtualBox and all its registry entries. For example, here’s the free version of Revo Uninstaller in action.
- Download, install, and open Revo Uninstaller.
- Right-click Oracle VM VirtualBox and select Uninstall.
- Enable the Make a System Restore Point before uninstall box and select Continue.

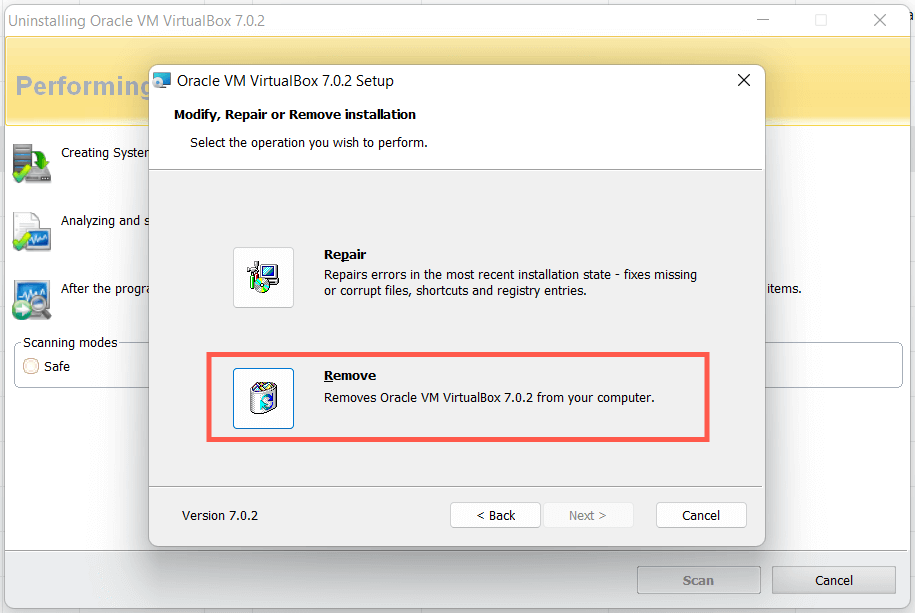
- Select Remove on the VirtualBox uninstaller.
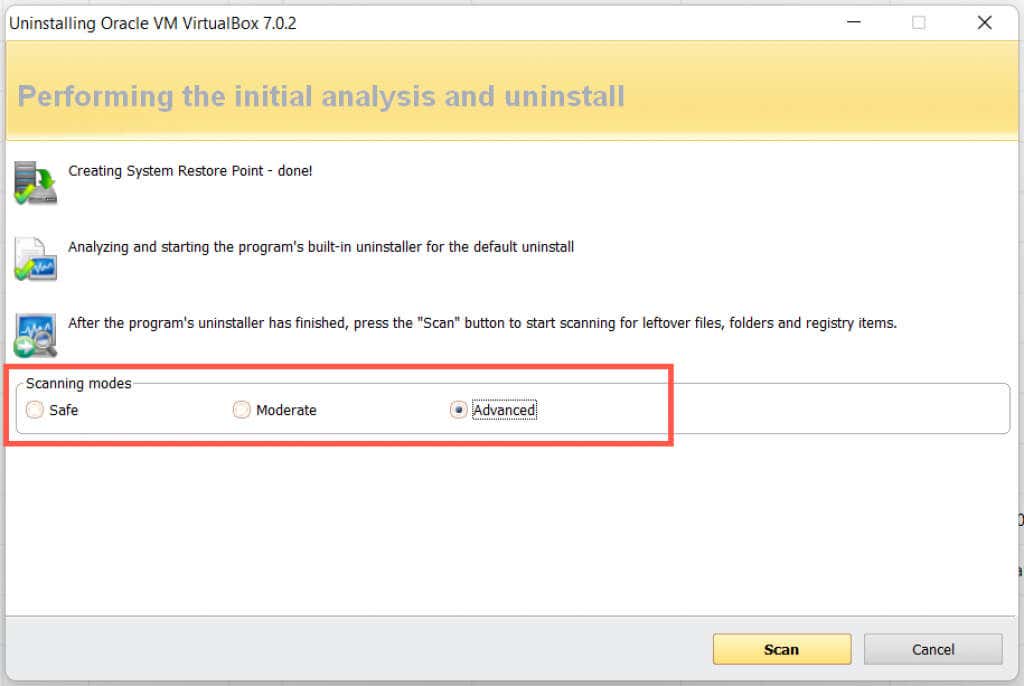
- Pick a scanning mode—Safe, Moderate, or Advanced. Select Safe if you don’t want to risk breaking the operating system.
- Choose Select All > Delete.
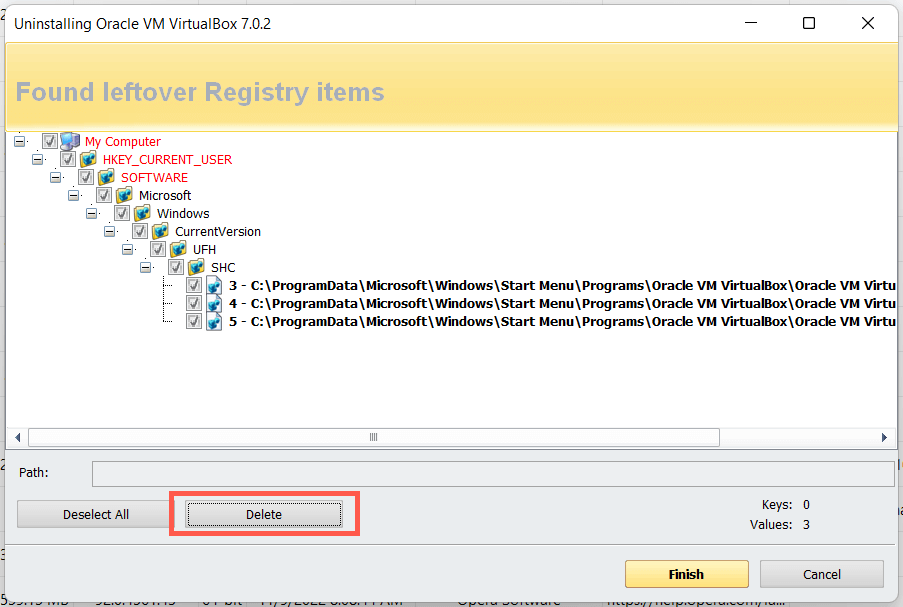
- Select Finish.
- Shut down and reboot your computer.
If you encounter problems with Windows afterward, use System Restore to roll back your changes.
Remove Leftover VirtualBox Folders
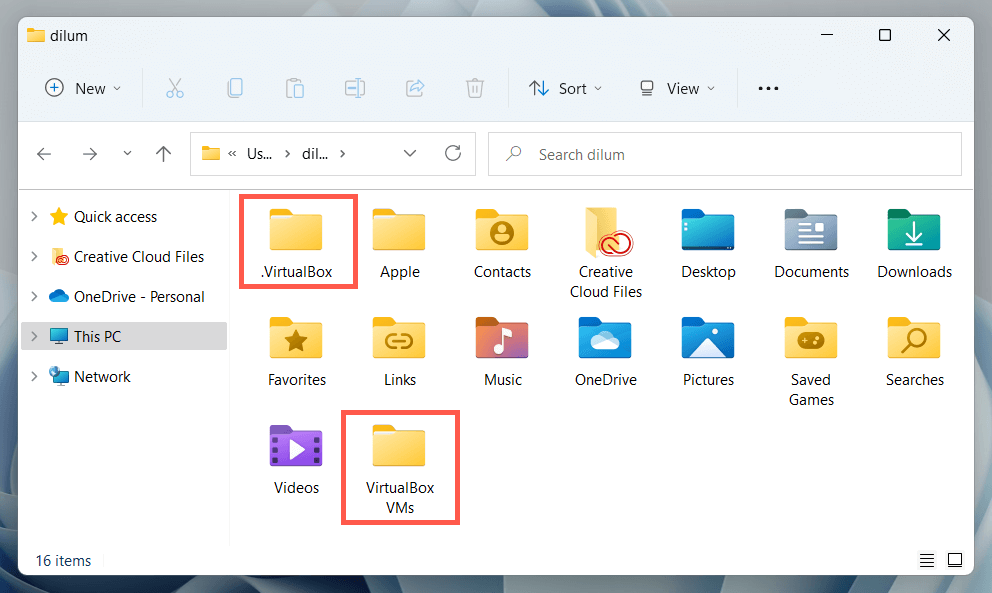
Despite using whatever methods above, you’ll still have a couple of leftover folders to delete from your computer’s hard drive or SSD. You can find them under Local Disk C > Users > [Your Username].
- .VirtualBox: Contains miscellaneous VirtualBox items.
- VirtualBox VMs: Contains virtual machine images for Windows, Linux, and other OSs. Keep them if you plan to reinstall VirtualBox.
Out of the Box
Suppose you continue to run into Windows Update incompatibility notifications despite removing VirtualBox. In that case, you may have Android emulators that use similar open-source virtualization technology on your computer—e.g., BlueStacks, LDPlayer, etc. Try removing them as well.
Subscribe on YouTube!
Did you enjoy this tip? If so, check out our YouTube channel from our sister site Online Tech Tips. We cover Windows, Mac, software and apps, and have a bunch of troubleshooting tips and how-to videos. Click the button below to subscribe!
Subscribe