At least one of these should work
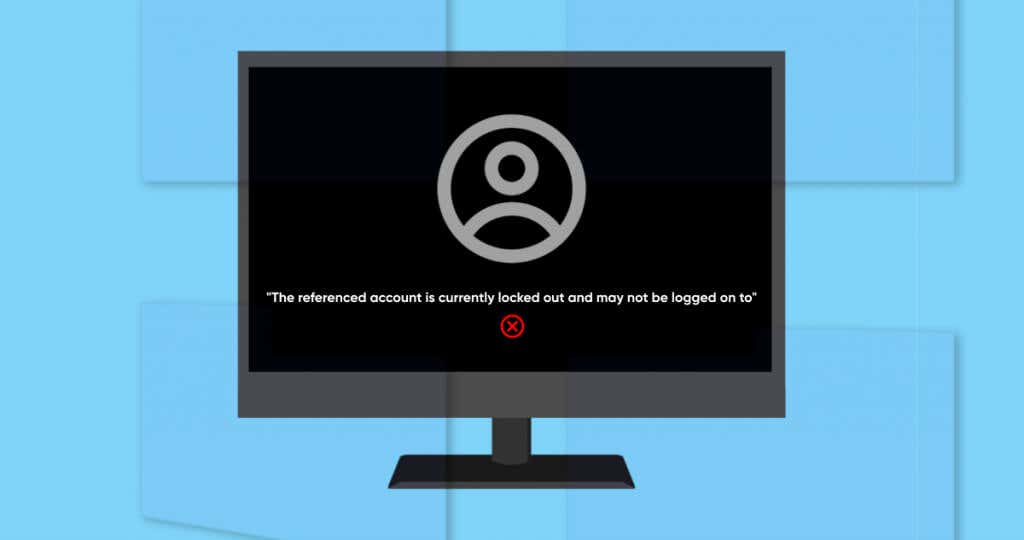
Windows displays a “The referenced account is currently locked out and may not be logged on to” error when you enter an incorrect password repeatedly. This error prevents you from signing into your account.
You can fix this issue by rebooting your computer and signing in with the correct password after 10-30 minutes. After that, reset your password, disable “Account lockout threshold,” or turn off password expiration if the error persists.
Table of Contents
Reset Your Password Using Security Questions
If you set up security questions when creating your account’s password, you can sign in to Windows by answering the questions correctly.
- Select Reset password below the dialog box on the sign-in screen.
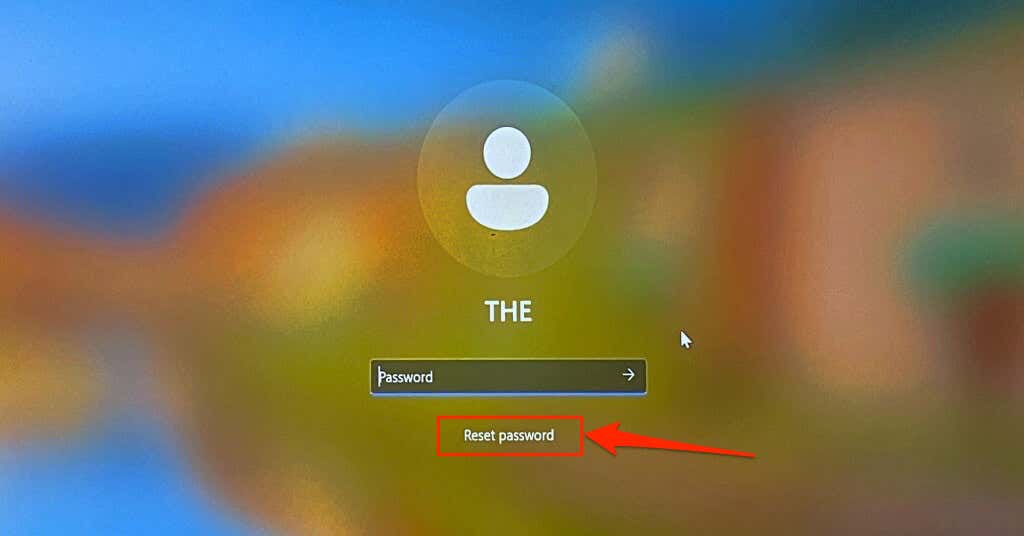
If you don’t see the “Reset password” option, enter the wrong password on the sign-in screen. Windows will refresh the login screen and display the “Reset password” option.
- Provide answers to the security questions and create a new sign-in password on the next page.
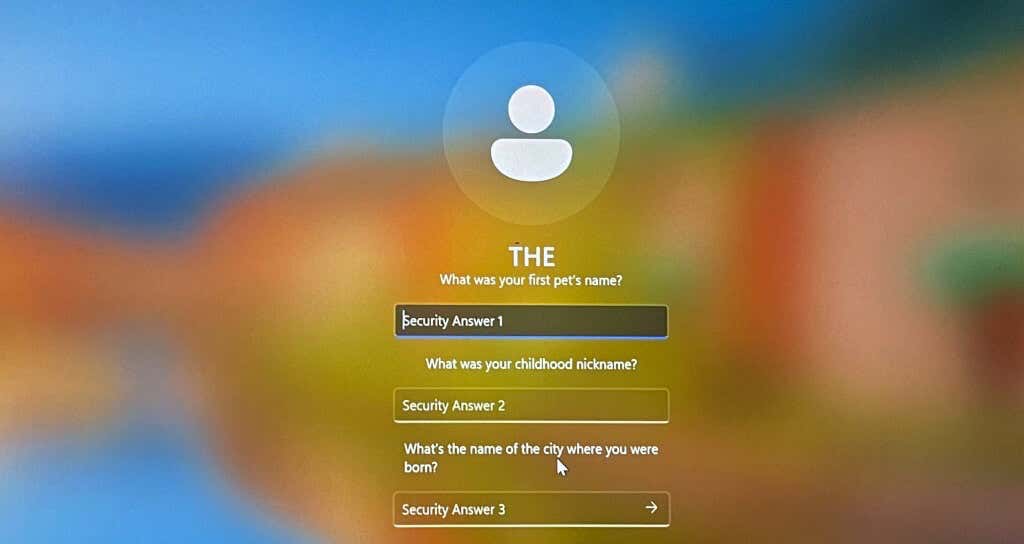
Return to the login screen and check if you can access your account using the new password.
Use a Password Reset Disk
If you have a password reset disk, use it to reset your local account’s password and sign in to Windows. Reboot your PC, plug the password reset USB drive into your computer, and follow the steps below.
- Select Reset password below the dialog box on the sign-in screen.

Press Enter or select the Submit icon if you don’t see the “Reset password” option on the login screen. Windows will refresh the login screen and display the “Reset password” option.
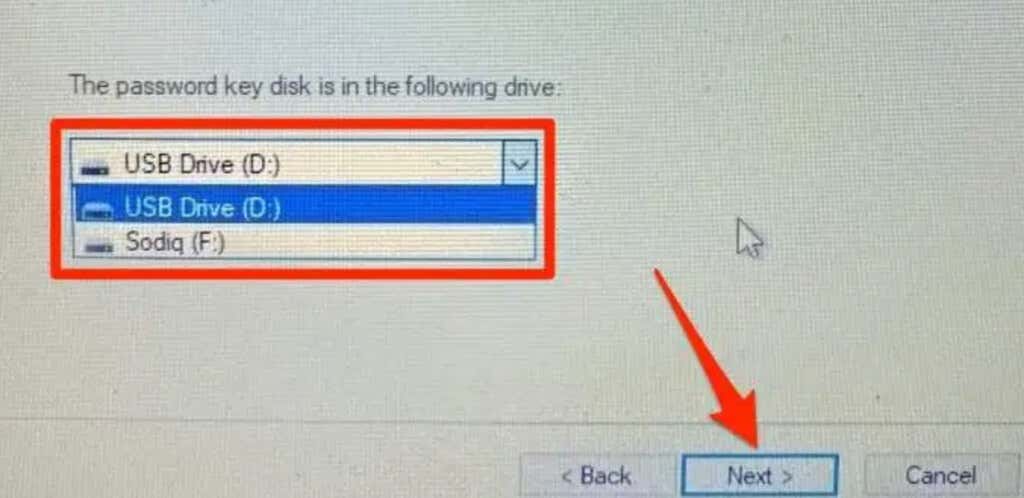
- Select Use a password reset disk instead.

- Select the password reset disk from the drop-down list, select Next, and follow the prompt on the next page to create your new sign-in password.
Close the password reset wizard and sign in to your PC using the new password. For more information, refer to our tutorial on using a password reset disk in Windows.
Reset Microsoft Account Sign-In Password
If you sign in to Windows using your Microsoft account, reset your password and sign in with your new password. Reboot your PC, connect it to a Wi-Fi or Ethernet network, and follow the steps below to reset your password.
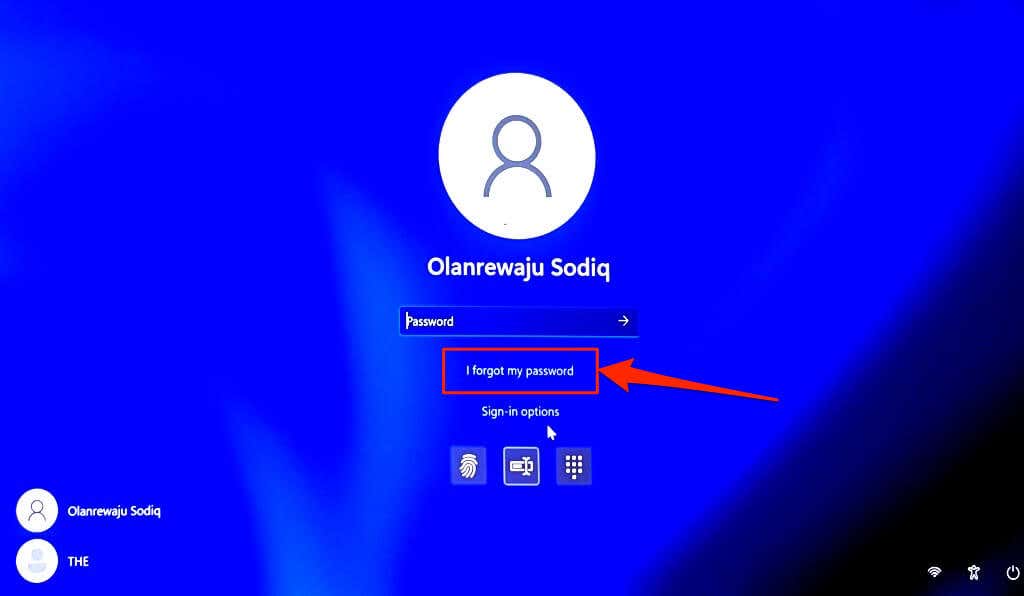
- Select I forgot my password on the sign-in screen.

- Select how you want to verify your identity—via email, phone number, or an authenticator app—and select Next.
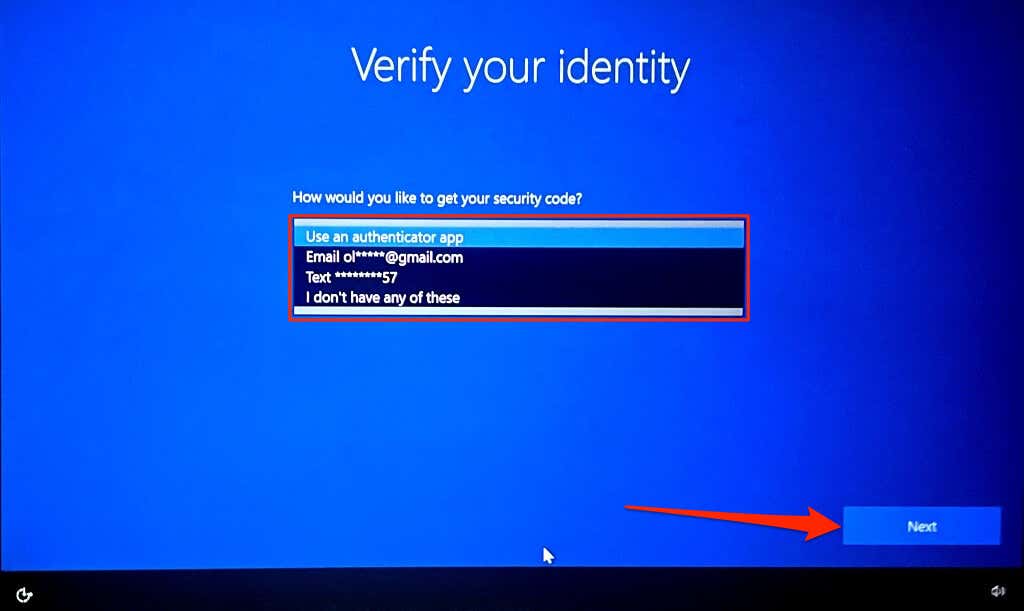
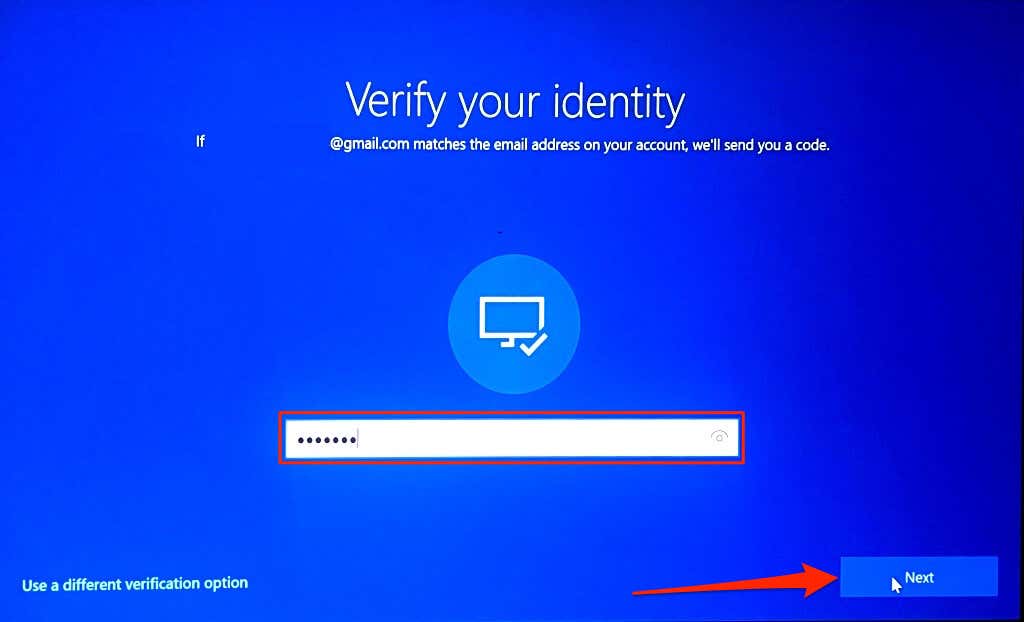
If you verify your identity via email, you’ll get a prompt to enter your full email address. Select Get code to have Microsoft send the verification code to the phone number linked to your account.
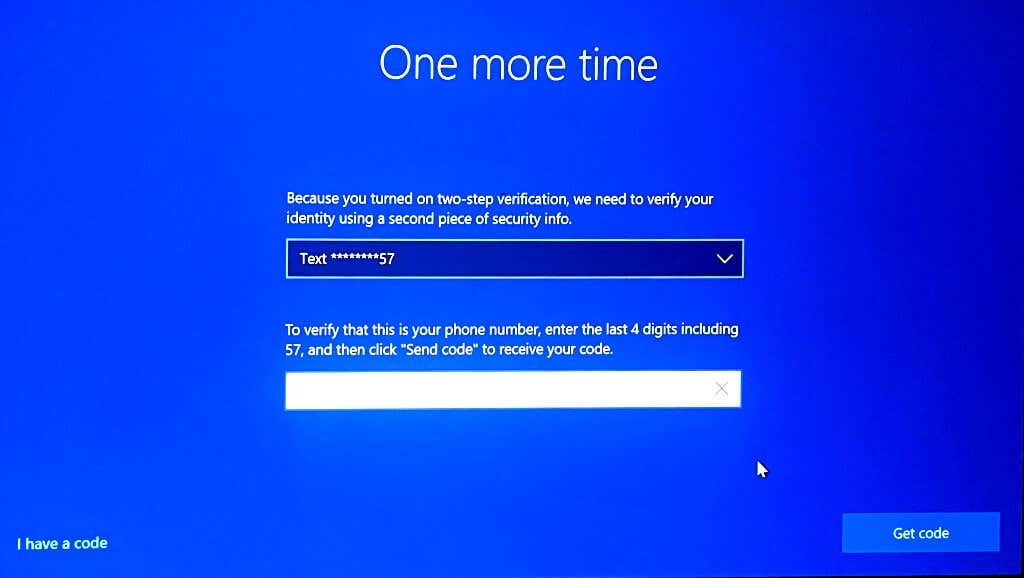
If you select the “phone number” verification option, provide the last four digits of your phone number to proceed.
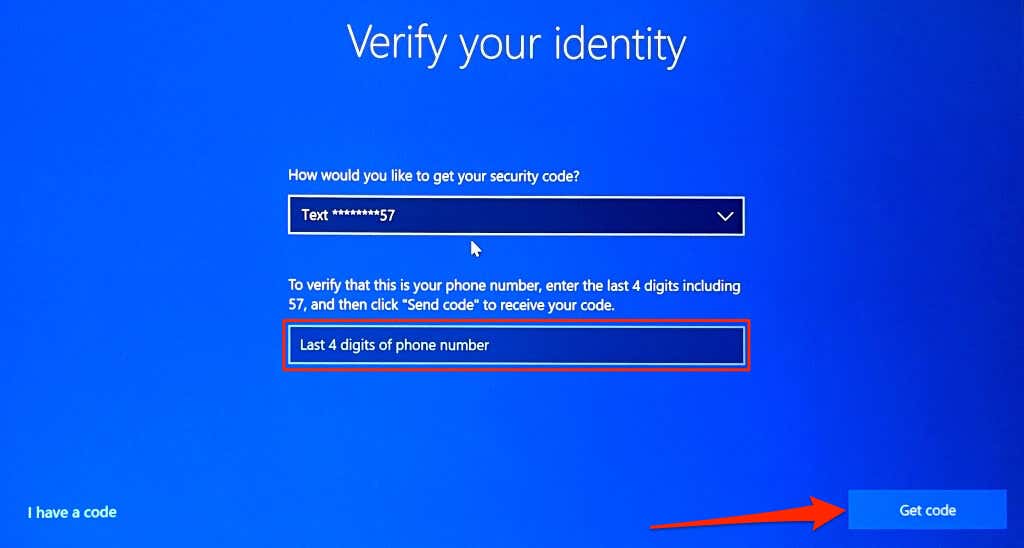
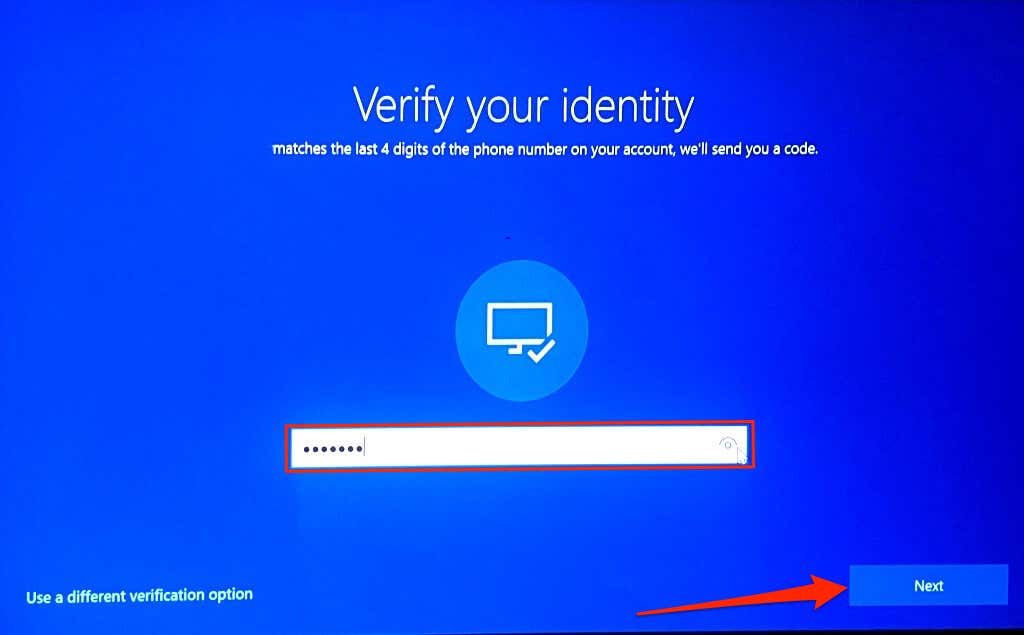
- Enter the authentication code sent to your email address or phone number and select Next.
- Verify your identity (via email or phone number) for the second time if your account uses two-step verification.
- Enter the new code sent to your email address or phone number and select Next.
- You’ll get a prompt to create a new password if the verification checks succeed. Enter your new sign-in password in the dialog box and select Next.
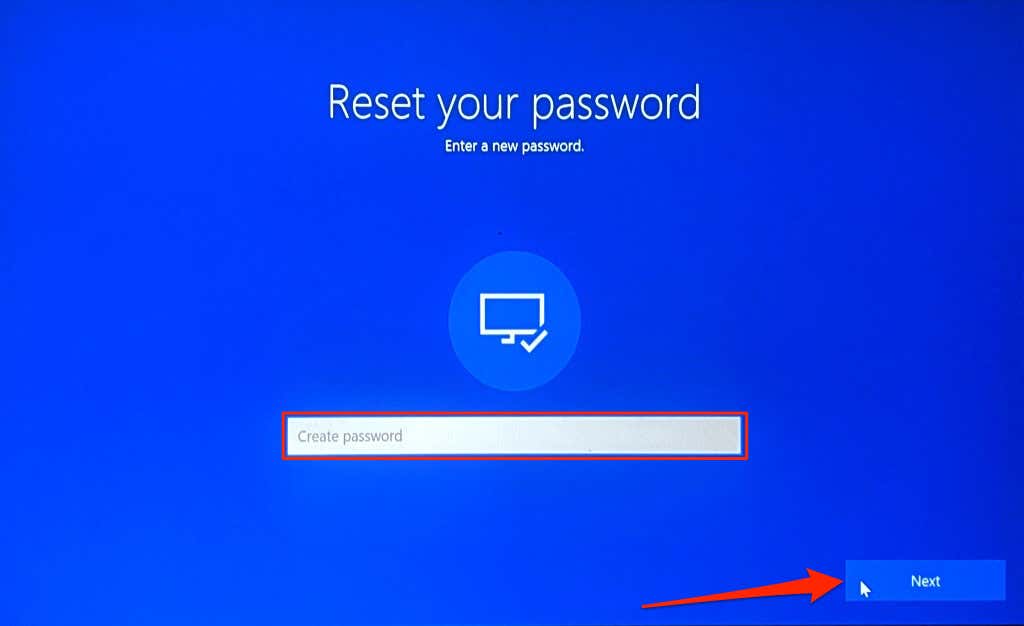
Your new password must have at least eight characters. Also, it must contain at least two of the following: numbers, uppercase letters, lowercase letters, and symbols.
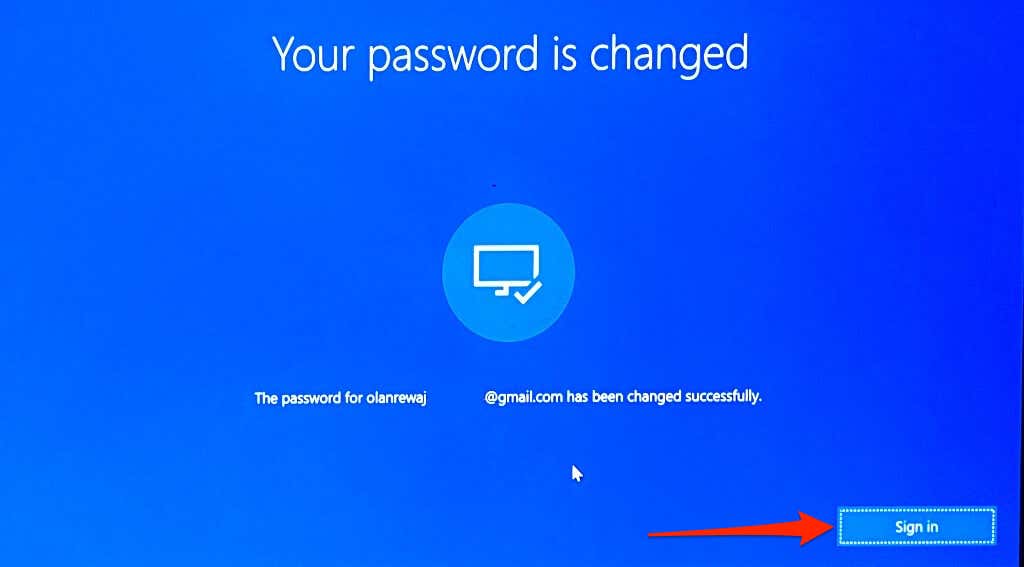
- You should see a “Your password is changed” success message on the next page. Select Sign in to log in to your computer using the new password.
Disable “Lockout Threshold” and “Password Expiration”
Windows has an “account lockout threshold” that locks your account after a specific number of invalid login attempts. Windows might also restrict your account if the password expires.
If you can’t access your account due to excessive invalid login attempts, disable the lockout threshold from the hidden administrator account. You should also ensure your account’s password doesn’t expire.
Since you can’t sign in, you’ll need to enable the hidden administrator account from the Group Policy Editor through the Windows Recovery Environment.
Note: Group Policy Editor is only available in the Professional and Enterprise editions of Windows. This method won’t work if your computer runs a Windows Home edition. Try the recommendation (Delete Cached Credentials) in the next section instead.
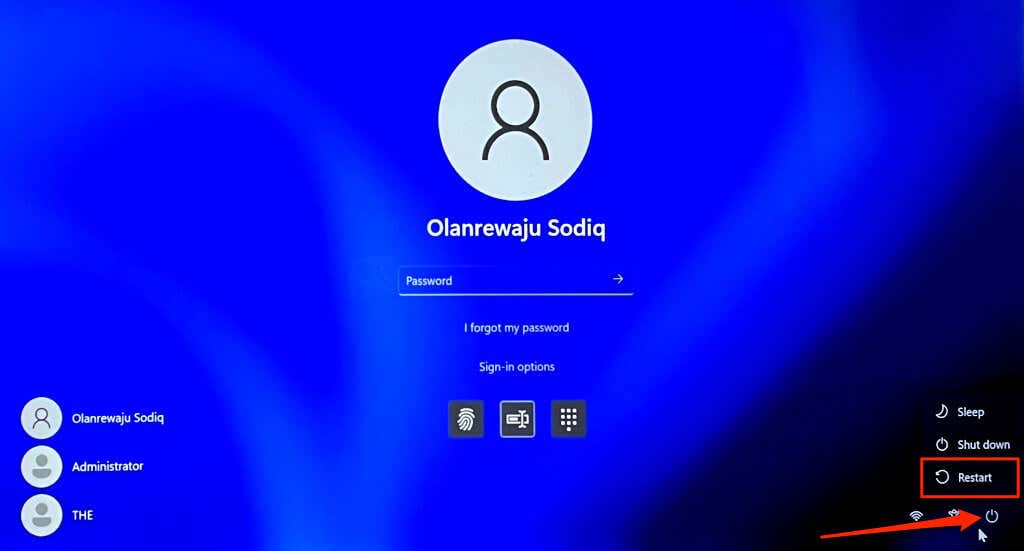
Select the Power icon in the bottom-right corner, hold the Shift key, and select Restart.
Alternatively, reboot your computer and repeatedly press the F8 or F11 key when Windows boots. For more information, refer to our tutorial on booting the system recovery options in Windows 10 and 11.
Follow the steps below to activate the hidden administrator account in the Windows Recovery Environment.
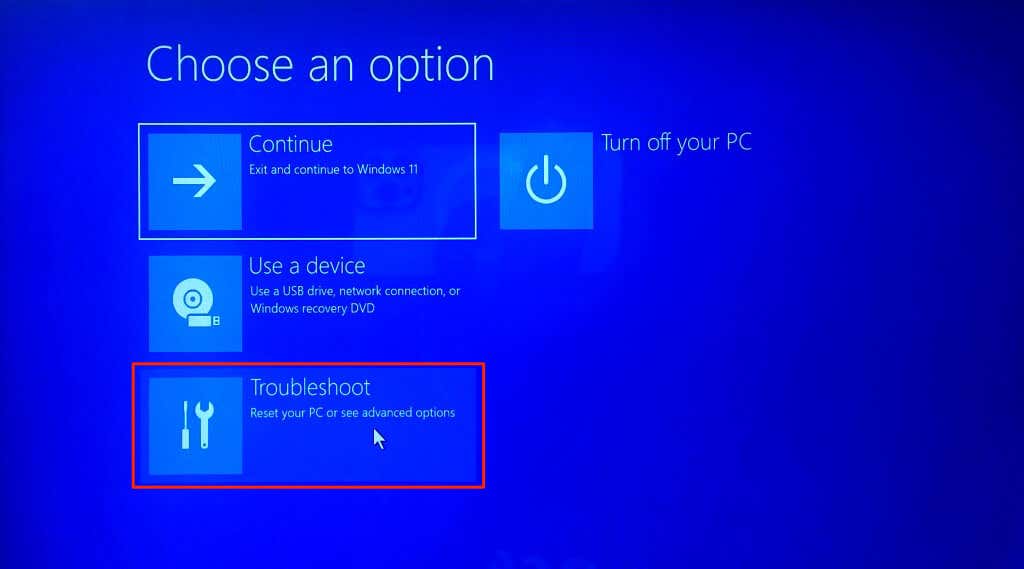
- Select Troubleshoot.
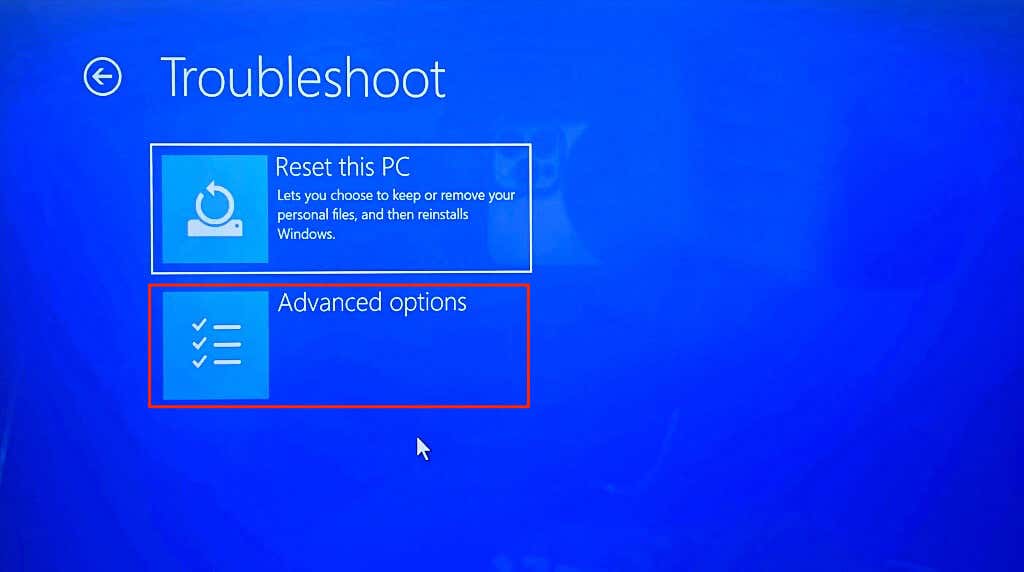
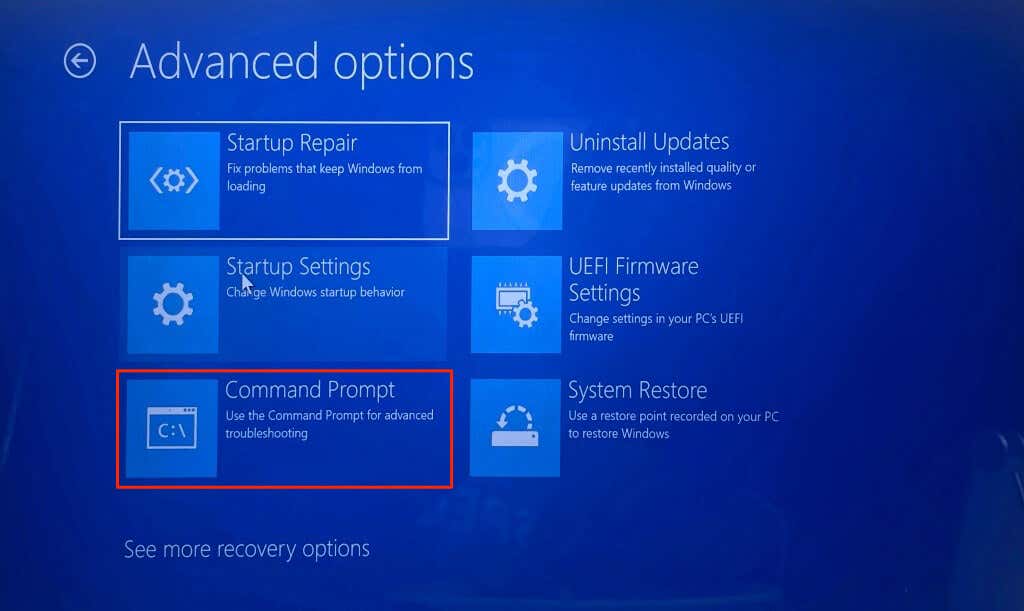
- Select Advanced options.
- Select Command Prompt.
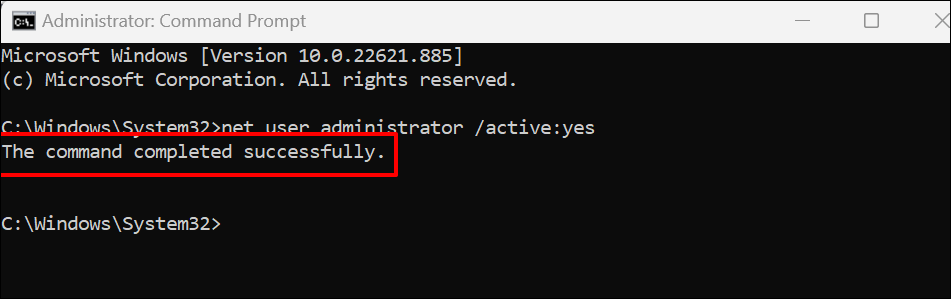
- Type or paste the command below in the Command Prompt terminal and press Enter.
net user administrator /active:yes

Close the Command Prompt when you see a “The command completed successfully” message.
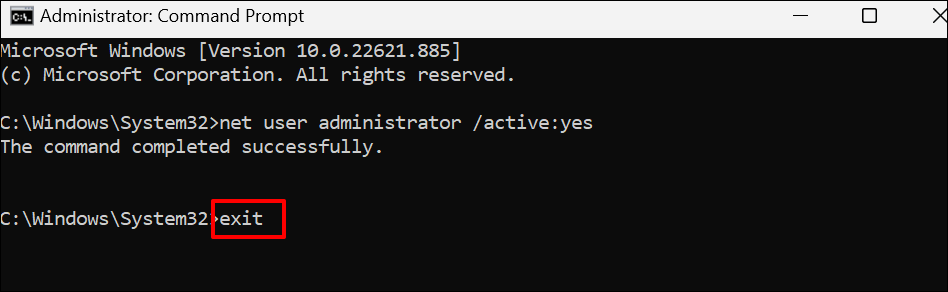
- Type exit in the following line and press Enter.
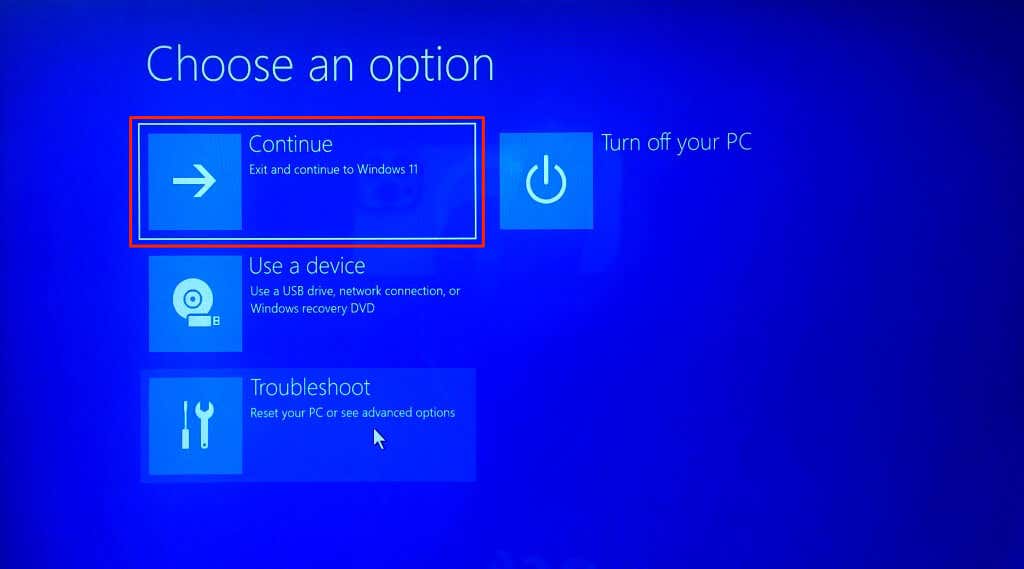
- Select Continue to close the Windows Recovery Environment. That’ll reboot Windows and display the hidden administrator account on the sign-in screen.
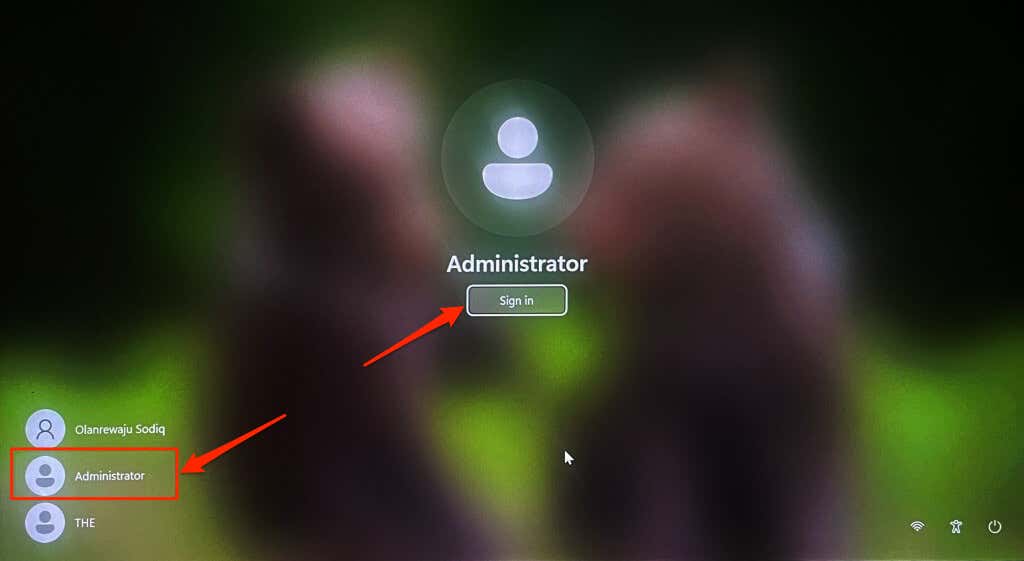
- Select Administrator in the bottom-left corner of the sign-in screen and select Sign in.
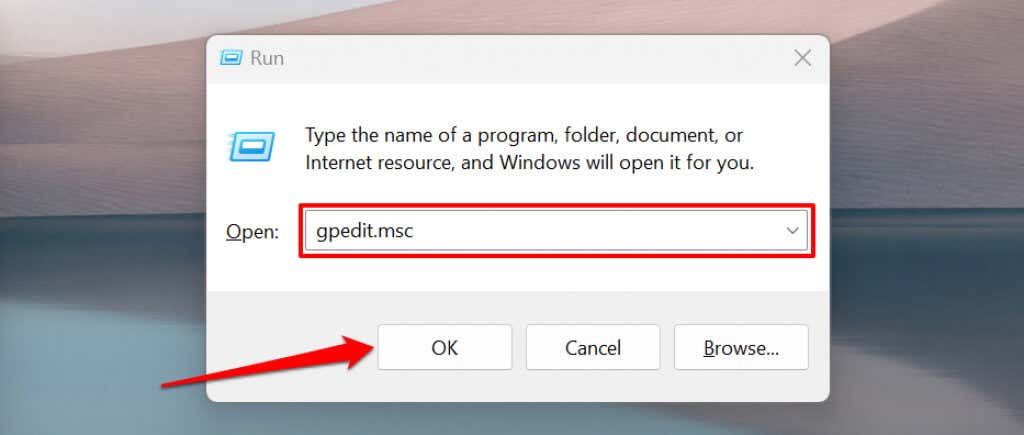
- Press the Windows key + R, type gpedit.msc in the dialog box, and select OK. That’ll open the Windows Local Group Policy Editor.
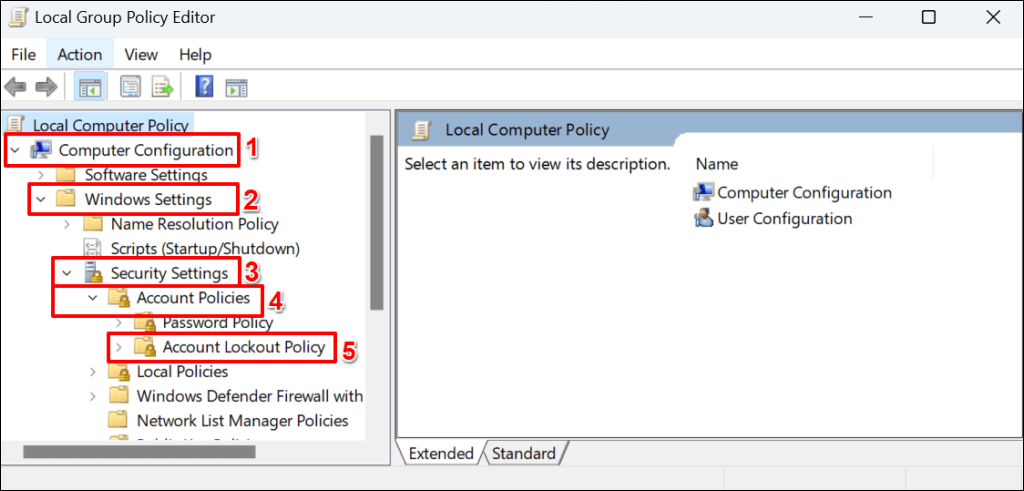
- Go to Computer Configuration > Windows Settings > Security Settings > Account Policies and select Account Lockout Policy.
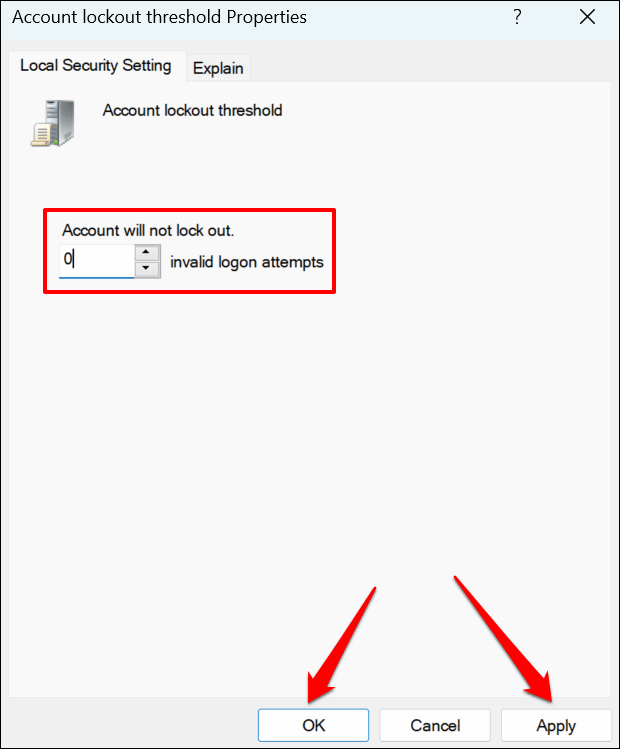
- Double-click the Account lockout threshold policy.
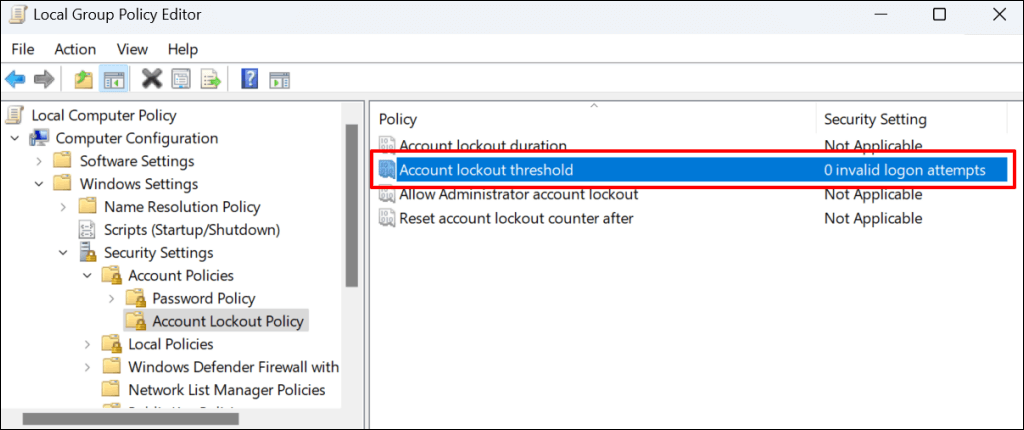
- Set the “Account will lock out after” option to 0 invalid logon attempts.

- Select Apply and then OK to save the account lockout threshold policy.
Windows will no longer lock your account, no matter how many times you enter an incorrect password. Restart your computer and try logging in to your main account.
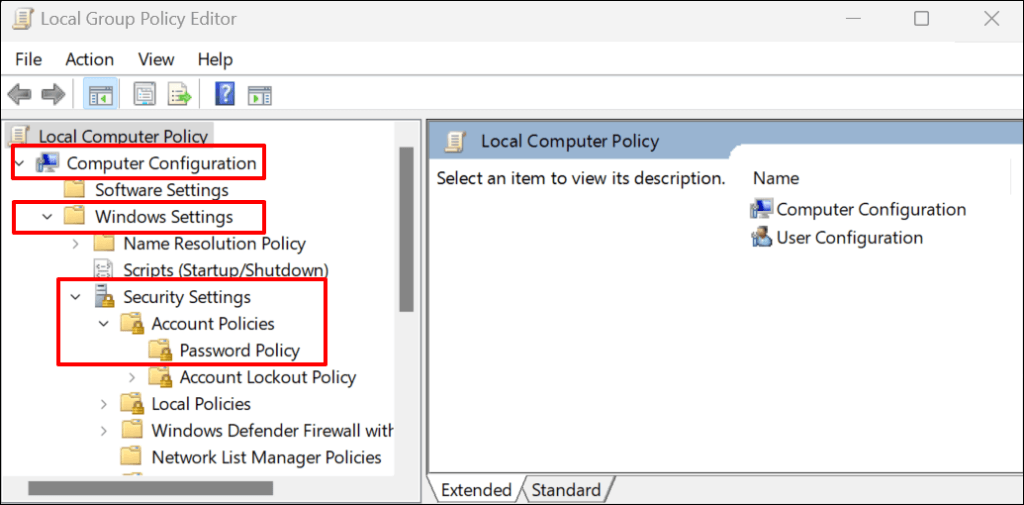
- Next, navigate to Computer Configuration > Windows Settings > Security Settings > Account Policies and select Password Policy.
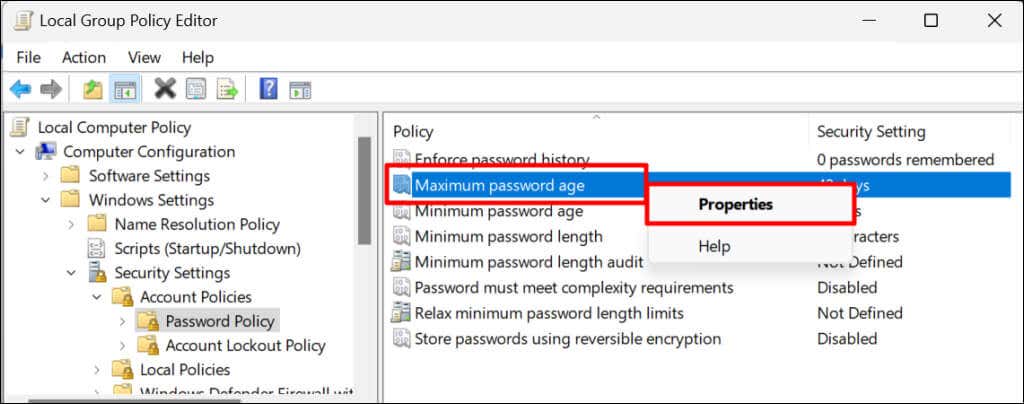
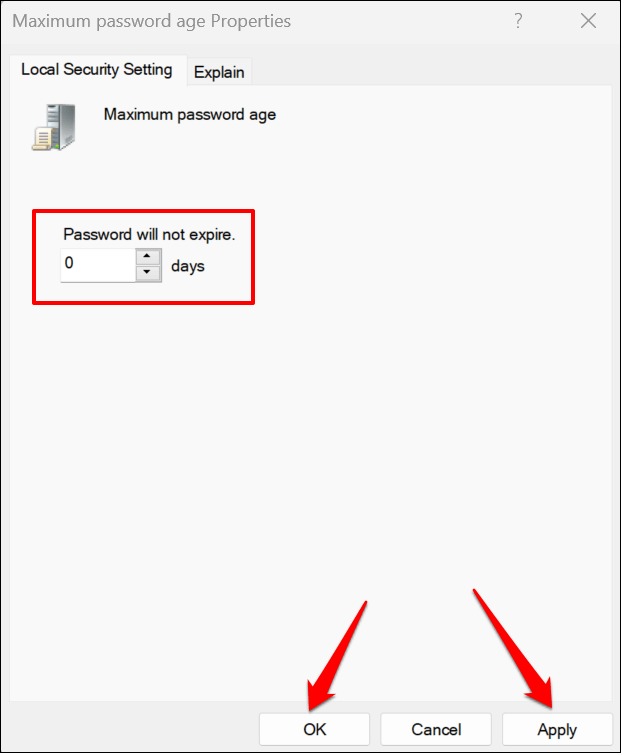
- Right-click Maximum password age and select Properties.
- In the “Local Security Setting” tab, set the “Password will expire in” entry to 0 to disable password expiration. The default expiration date is 42 days.
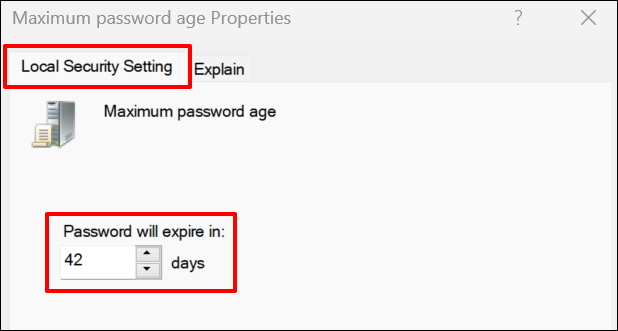
- Select Apply and then OK to save the password age settings.
Sign out of the hidden admin account, reboot your computer, and try signing in to the locked account.
Delete Cached Credentials
Corrupt cached credentials can also cause account lockout issues in Windows. Sign in to the hidden admin account, delete the locked account’s cached credential, and try signing in again.
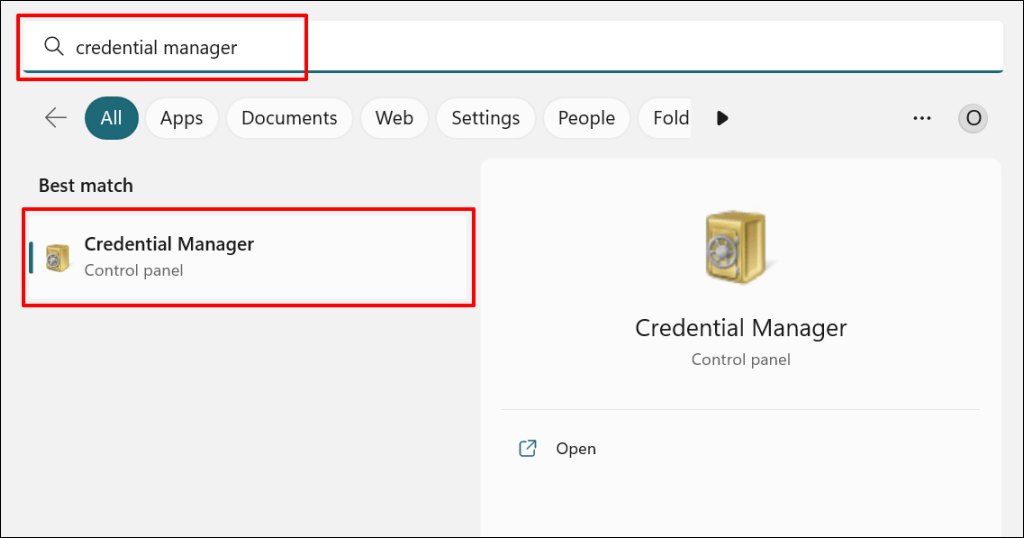
- Open the Start menu, type credentials manager in the search box, and select the Credential Manager.
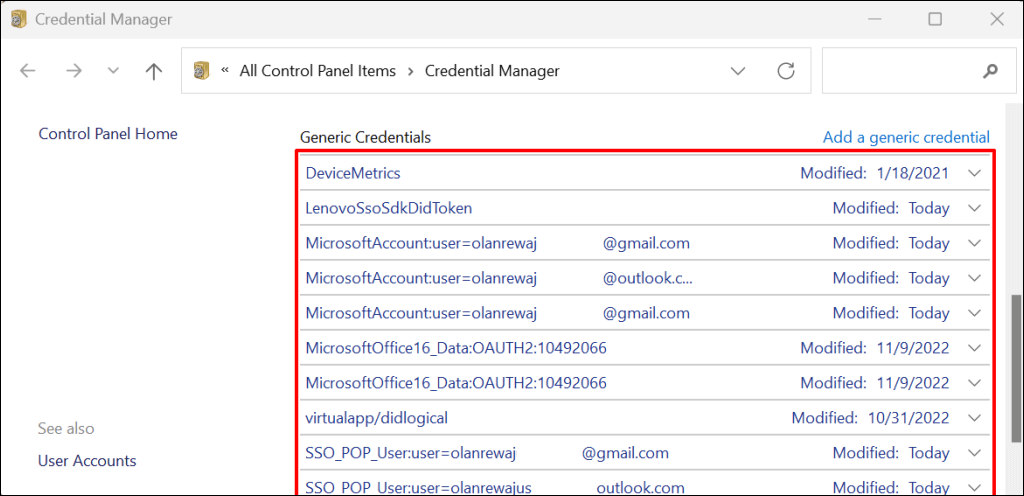
- Select Windows Credentials.

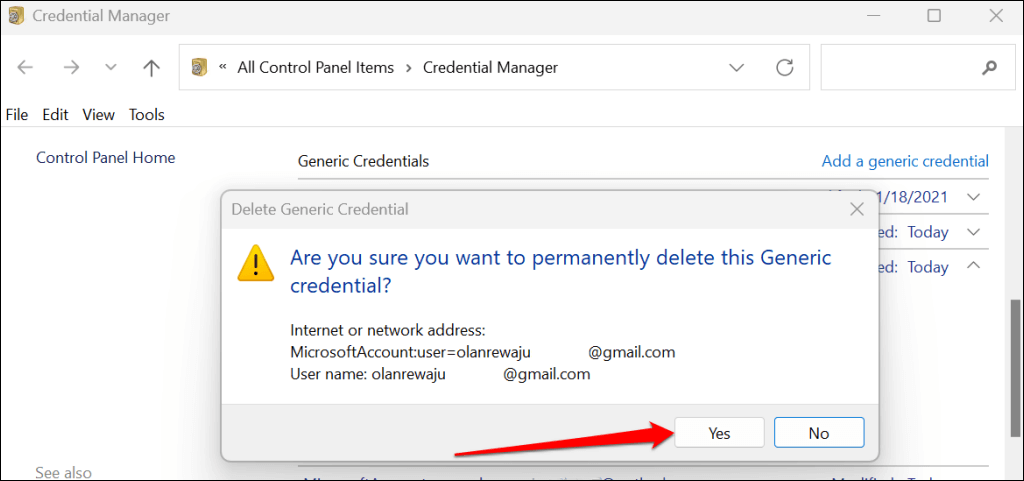
- Scroll to the “Generic Credentials” section and select the credentials of the locked user account.
- Select Remove.
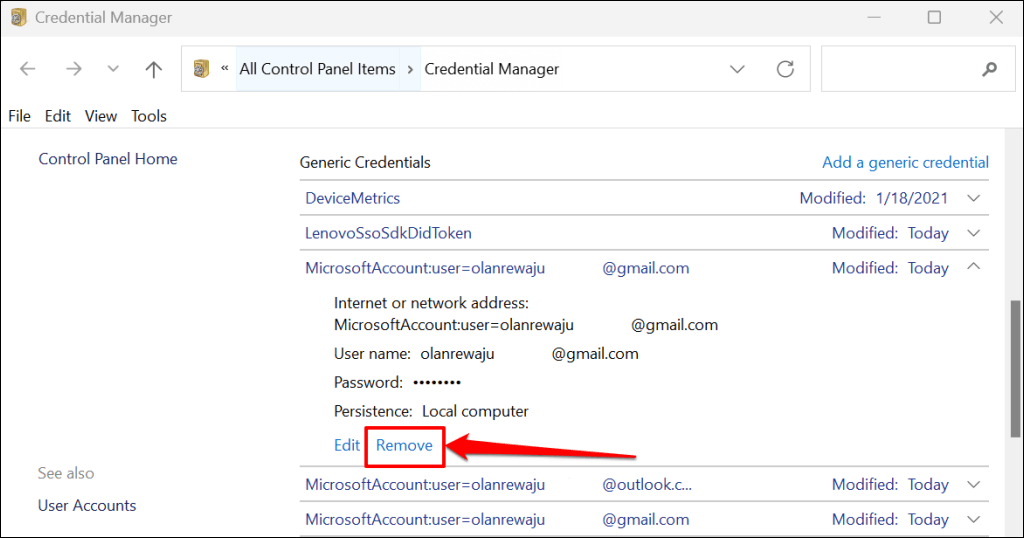
- Select Yes on the confirmation prompt to proceed.
Sign out of the hidden admin account and try logging in to the locked account again with the correct password.
Unlock Account Using the “Local Users and Group Management” Utility
If your PC uses Windows 10/11 Pro or Enterprise, sign in to the hidden admin account and unlock your account via the Local User Management utility.
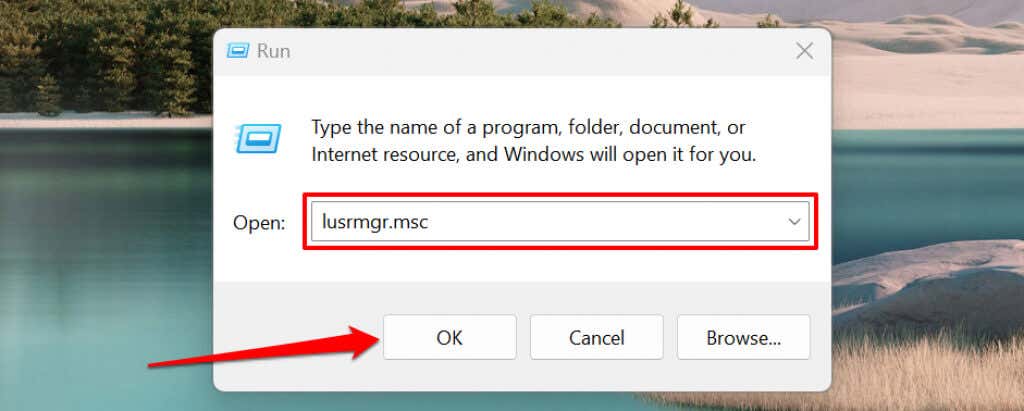
- Open the Windows Run box (Windows key + R), type lusrmgr in the dialog box, and select OK.
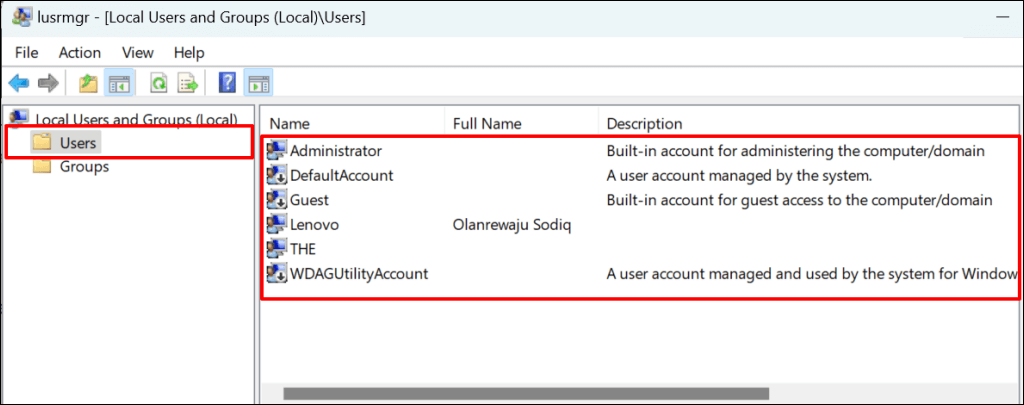
- Select Users on the sidebar and double-click the locked account.
- In the “General” tab, deselect the Account is locked out checkbox, select Apply, and then OK.

Update the Local Group Policy Editor
A background update of all Group Policy settings can also resolve the “The referenced account is currently locked out” error. Follow the steps below if your PC runs the Pro or Enterprise version of Windows.
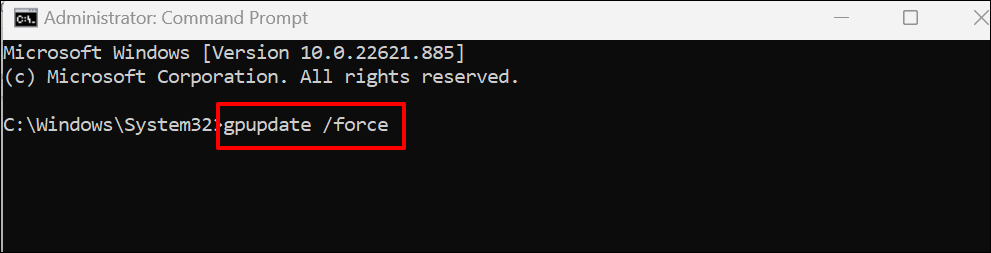
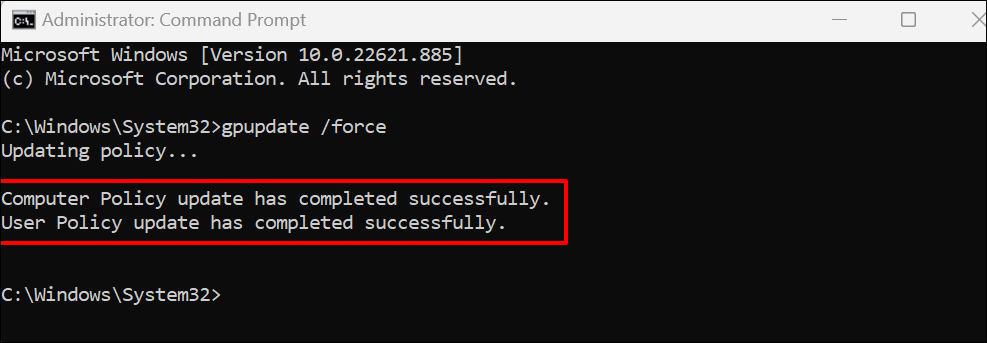
Open Command Prompt in the Windows Recovery Environment, paste gpupdate /force in the terminal, and press Enter.
Close the Command Prompt and reboot your PC when you see a “User Policy update has completed successfully” message.
Unlock Your Account
At least one of these troubleshooting fixes should unlock access to your account. Reset your computer or contact Microsoft Support if the error persists.
Subscribe on YouTube!
Did you enjoy this tip? If so, check out our YouTube channel from our sister site Online Tech Tips. We cover Windows, Mac, software and apps, and have a bunch of troubleshooting tips and how-to videos. Click the button below to subscribe!
Subscribe