Quickly resolve the issue with one of these
Google Chrome displays an ERR_CONNECTION_REFUSED error message when a website fails to respond to a request to connect to it. Although that sounds like an issue on the server-side (and it very well could be), many reasons—such as an obsolete DNS cache and conflicting network settings—can also trigger the error.
If reloading the website, relaunching Chrome, or restarting your PC or Mac didn’t help, then working your way through the list of troubleshooting tips below should sort things out.
Table of Contents
1. Check Website Status
To rule out potential server-side issues, you must check the website’s status by running its URL through an online tool such as Downdetector or CurrentlyDown.
If you receive a message indicating that the site is down for everyone, you must wait it out until the website comes back online. You could also notify the webmaster via email or social media to speed things up.
2. Clear DNS Cache
If the site is up for everyone else but not you, an obsolete DNS (Domain Name System) cache is the likely reason behind the ERR_CONNECTION_REFUSED error. Deleting it should force your computer to update the website’s IP (Internet Protocol) address, which may have changed since the last time you accessed it.
DNS cache-related issues can also result in the DNS_PROBE_FINISHED_BAD_CONFIG and ERR_CACHE_MISS errors in Chrome.
Clear DNS Cache in Windows
1. Press Windows + X to open the Power User Menu. Then, select Windows PowerShell (Admin).
2. Type the following into an elevated Windows PowerShell console:
Clear-DnsClientCache
3. Press Enter and exit Windows PowerShell.
Clear DNS Cache in macOS
1. Press Command + Space to open Spotlight Search. Then, type terminal and press Enter.
2. Copy and paste the following command into the Terminal console and press Enter:
sudo dscacheutil -flushcache;sudo killall -HUP mDNSResponder
3. Type in your administrator password and press Enter again to execute the command. Follow by exiting Terminal.
3. Change DNS Servers
Spotty and unreliable DNS servers on the PC and Mac can also prevent Chrome from connecting to specific websites. To rule that out, you must switch to a popular public DNS service such as Google DNS.
Change DNS Servers on Windows
1. Open the Start menu and select Settings.
2. Select Network & Internet.
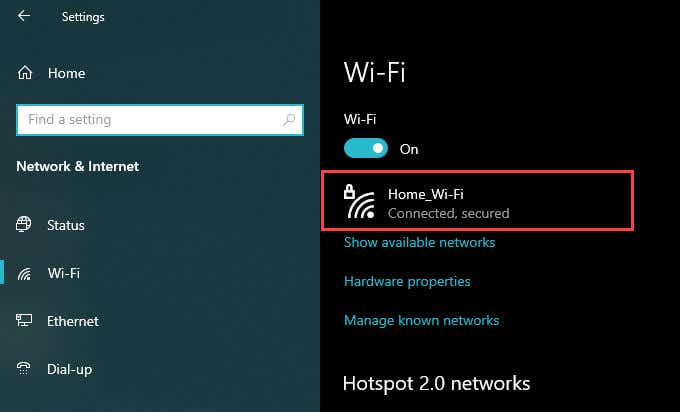
3. Switch to the Wi-Fi or Ethernet side-tabs.
4. Pick your network connection.
5. Under IP Settings, select Edit.
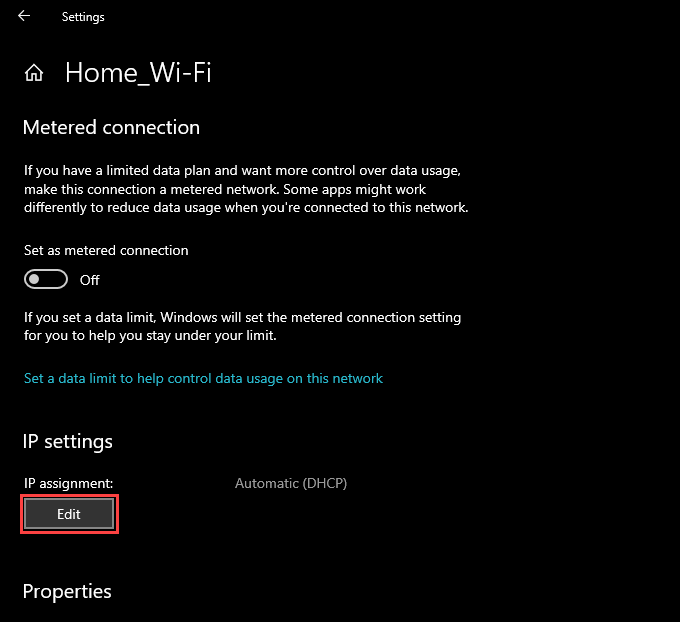
6. Set Edit IP Settings to Manual and turn on the switch under iPv4.
7. Type the following DNS addresses into the Preferred DNS and Alternate DNS fields:
8.8.8.8
8.8.4.4
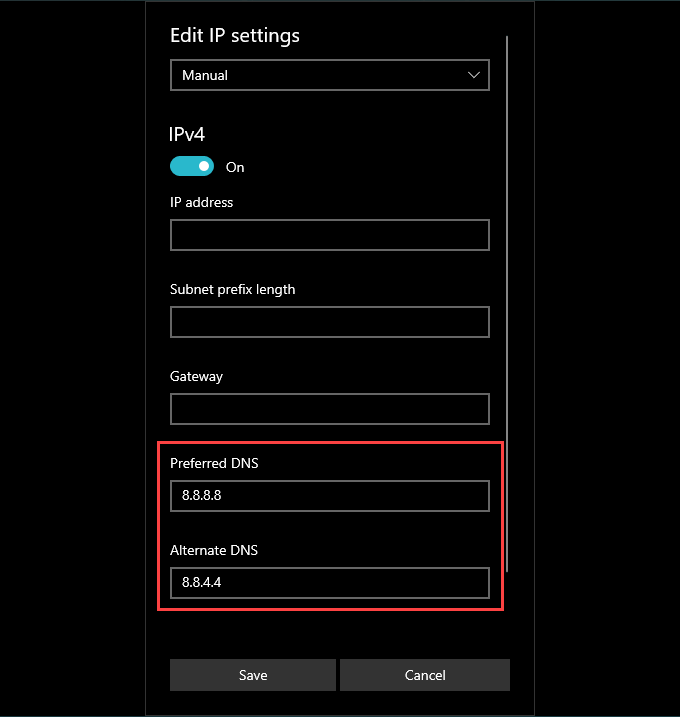
8. Select Save.
Change DNS Servers on macOS
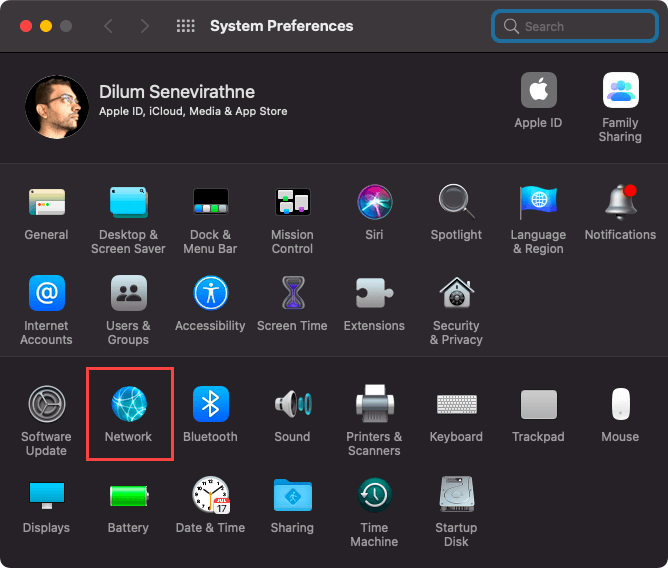
1. Open the Apple menu and select System Preferences.
2. Select Network.
3. Pick Wi-Fi or Ethernet and select Advanced.

4. Switch to the DNS tab.
5. Add the following DNS servers:
8.8.8.8
8.8.4.4
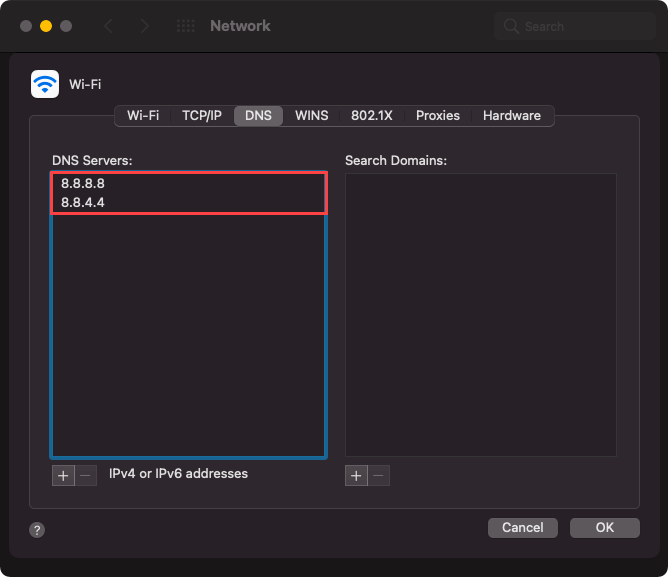
6. Select OK, then Apply.
4. Clear Chrome Cache
An outdated Chrome cache can lead to data mismatches and, subsequently, site loading issues. If the DNS-related fixes didn’t help, you should try clearing it.
Start by deleting the cache just for the site that displays the ERR_CONNECTION_REFUSED error. In case that doesn’t fix the problem or the same error keeps appearing on multiple websites, go ahead and clear the entire browser cache.
Clear Cache for One Site Only
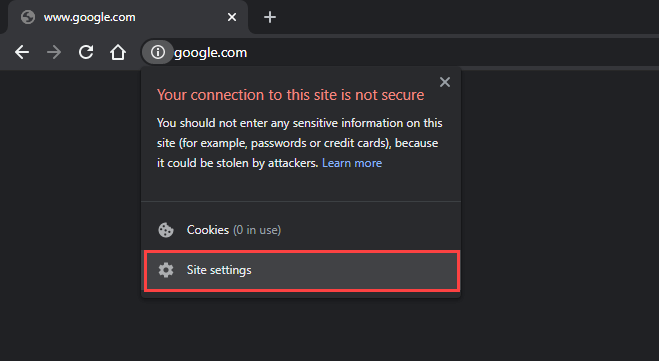
1. Try loading the website. Then, select the Info icon on the address bar.
2. Select Site settings.
3. Select Clear data.
Clear the Full Browser Cache
1. Open the Chrome menu and point to More tools > Clear browsing data.
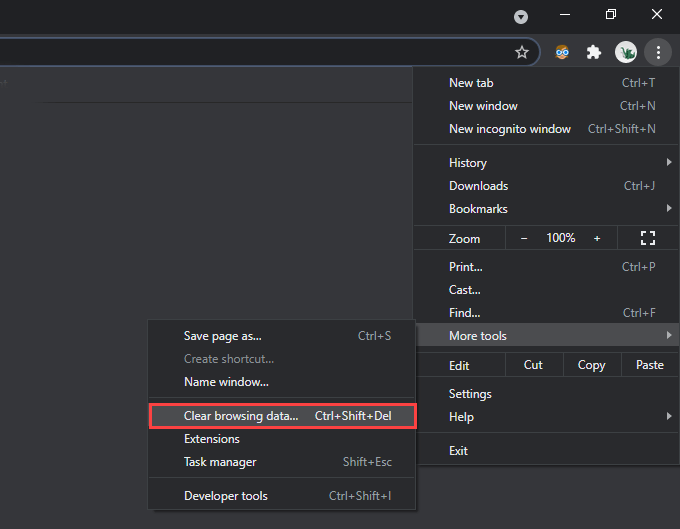
2. Switch to the Advanced tab.
3. Set Time range to All time.
4. Check the boxes next to Cookies and other site data and Cached images and files.
5. Select Clear data.
5. Renew DHCP Lease
If none of the fixes above helped, you must renew the DHCP (Dynamic Host Configuration Protocol) lease on your computer. That involves requesting a fresh IP address from the network’s router.
Renew DHCP Lease on Windows
1. Open an elevated Windows PowerShell console.
2. Run the two commands below in the following order:
- ipconfig /release
- ipconfig /renew
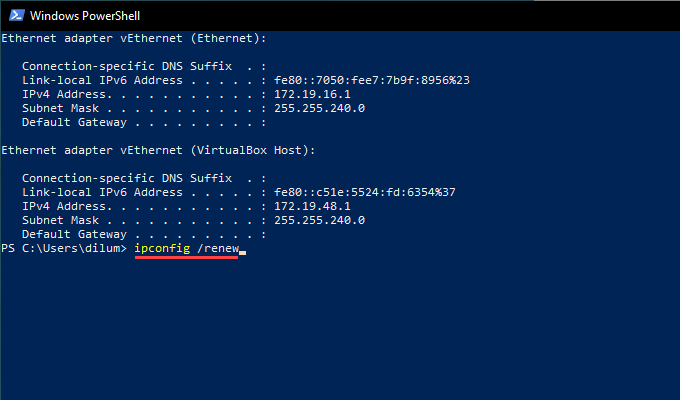
3. Exit Windows PowerShell.
Renew DHCP Lease on Mac
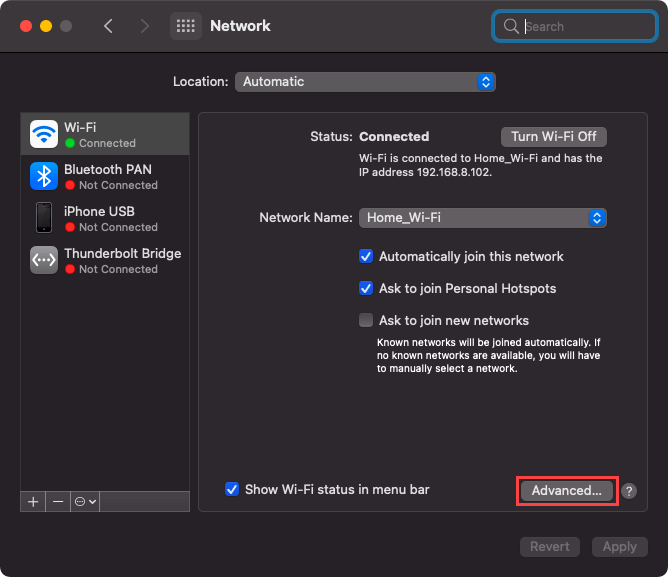
1. Open the Apple menu and select System Preferences.
2. Select Network.
3. Pick Wi-Fi or Ethernet and select Advanced.
4. Switch to the TCP/IP tab.
5. Select Renew DHCP Lease.
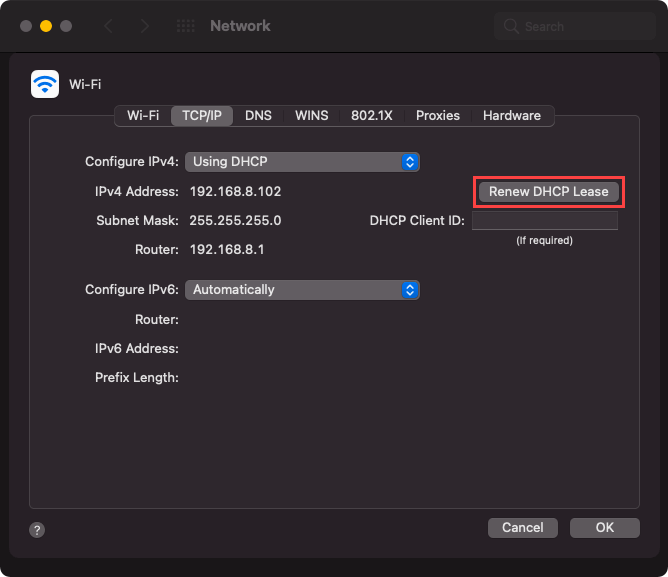
6. Select OK.
7. Exit System Preferences.
6. Disable VPN and Proxy Servers
Do you use a VPN (Virtual Private Network) on your PC or Mac? It’s the best way to protect your privacy on the internet. However, VPNs also introduce connectivity-related issues, so disable yours and check if that helps.
Additionally, you should disable any active proxy servers. Here’s how to check for and deactivate proxy servers on the PC and Mac.
7. Add Chrome to Firewall
Another ERR_CONNECTION_REFUSED error-related fix involves adding Google Chrome as an exception to the Windows or the macOS firewall—if it already isn’t.
Add Chrome to Firewall on Windows
1. Open the Settings app.
2. Select Update & Security.
3. Switch to the Windows Security side-tab.
4. Select Firewall & network protection.
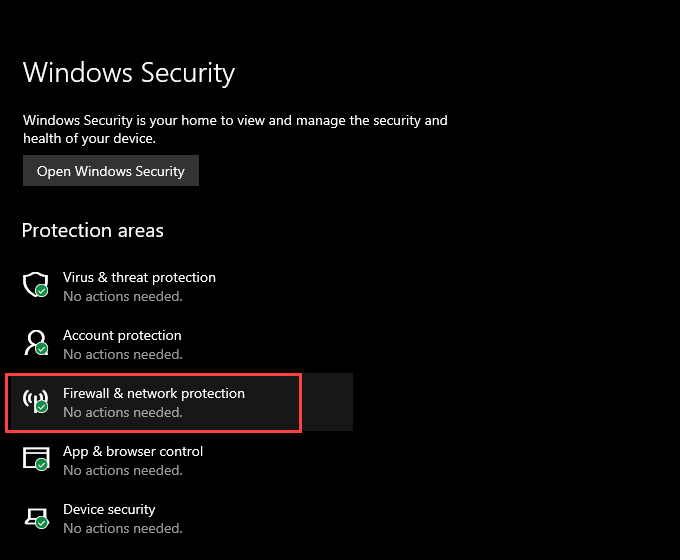
5. Select Allow an app through firewall.

6. If you don’t see Google Chrome listed within the list of apps, select Change settings, followed by Allow another app.
7. Select Browse and choose the chrome.exe file from the following location:
C:\Program Files\Google\Chrome\Application
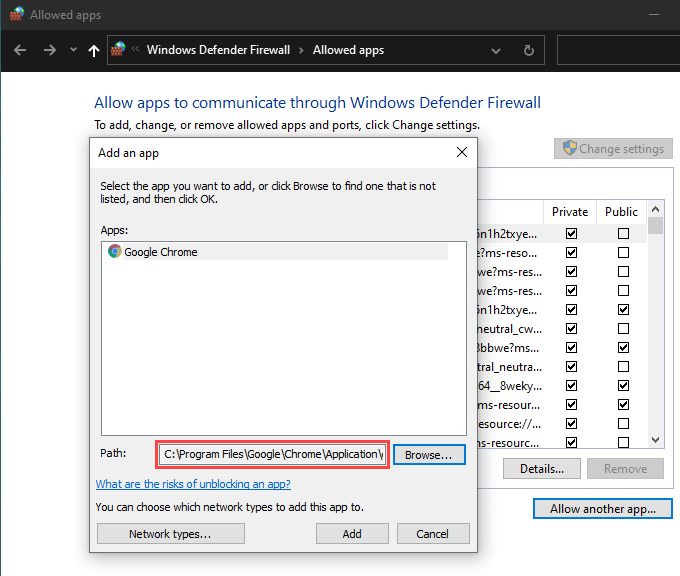
8. Select Add, then OK.
Add Chrome to Firewall on macOS
1. Open System Preferences.
2. Select Security & Privacy.
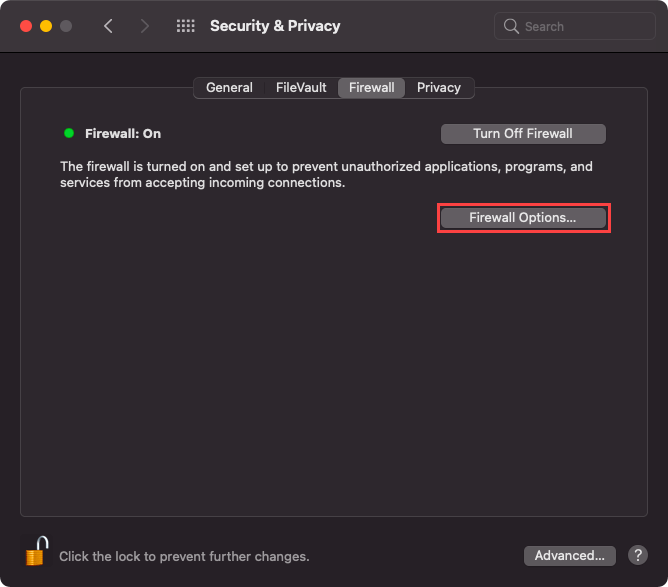
3. Switch to the Firewall tab.
4. Select Click the lock to make changes and choose Firewall Options.
5. Select the Plus icon and pick Google Chrome.
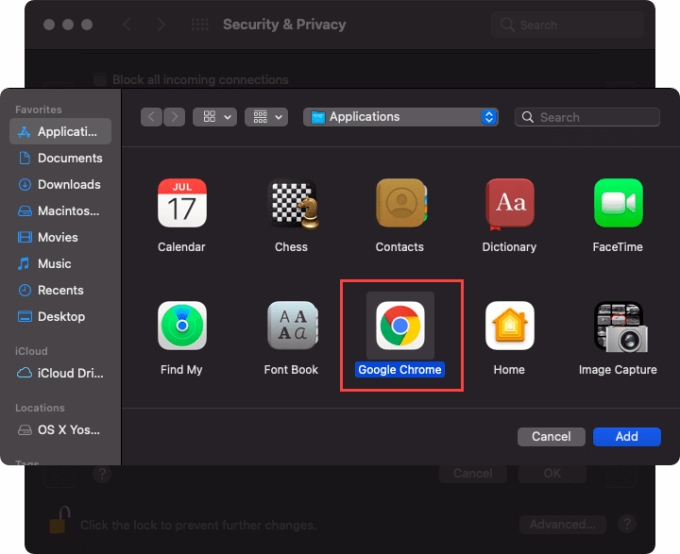
6. Select Add, then OK.
8. Check Chrome Extensions
Extensions help improve Chrome, but unoptimized add-ons also introduce connectivity issues. Identify and remove them.
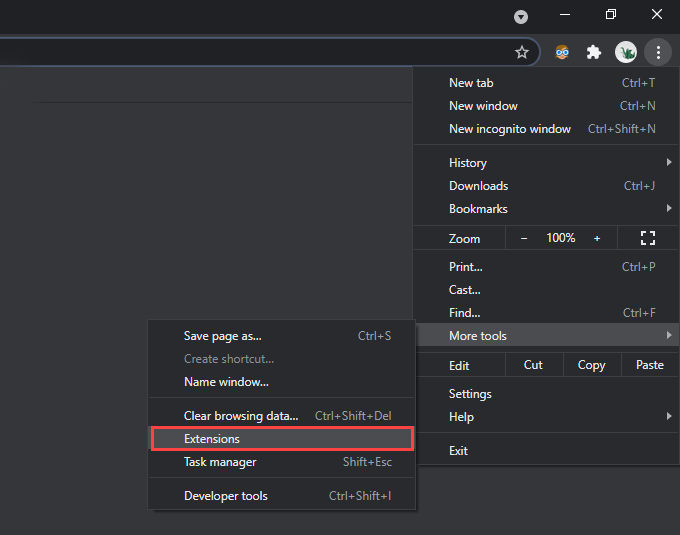
1. Open the Chrome menu. Then, point to More tools and select Extensions.
2. Deactivate each active extension.
3. If that ends up fixing the ERR_CONNECTION_REFUSED error, reactivate the extensions one at a time until you come across the add-on causing the issue. Once you do, remove it and look for an alternative extension.
9. Run Cleanup Tool (Windows Only)
The PC version of Google Chrome comes with a built-in tool that can identify and remove malicious extensions, browser hijackers, and other harmful software from your computer. If Chrome shows signs of performance-related issues besides displaying the ERR_CONNECTION_REFUSED message, you should try using it.
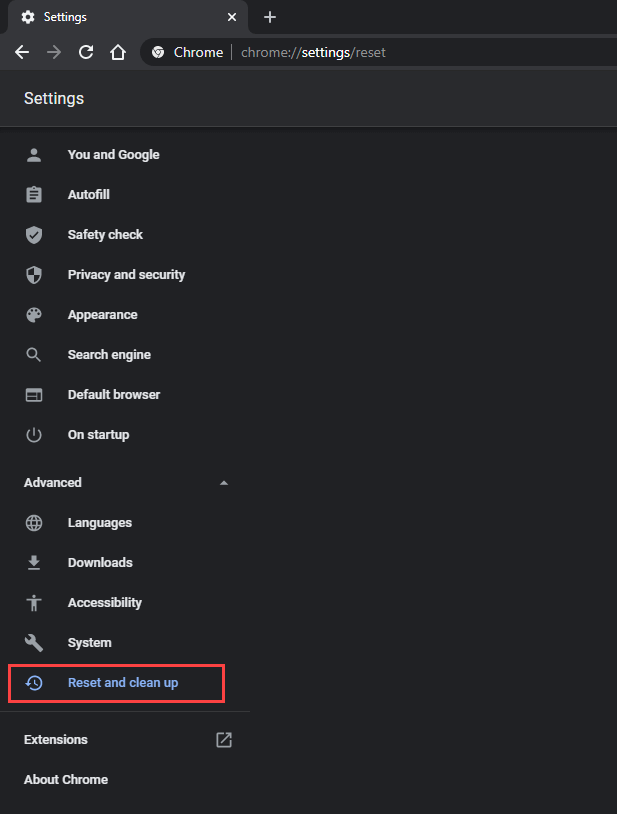
1. Open the Chrome menu and select Settings.
2. Go to Advanced > Reset and clean up.
3. Select Clean up computer > Find.
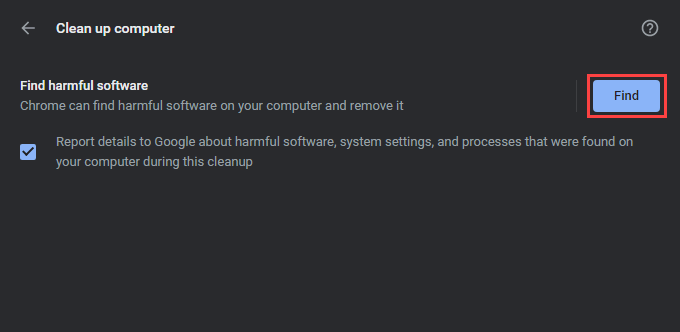
That should prompt Chrome to scan for and remove harmful software from your computer.
10. Reset Chrome
Do you still keep running into the ERR_CONNECTION_REFUSED error in Chrome? Resetting the web browser should revert any corrupt configurations preventing it from working correctly.
1. Open the Chrome menu and select Settings.
2. Go to Advanced > Reset and clean up (PC)/Reset (Mac).
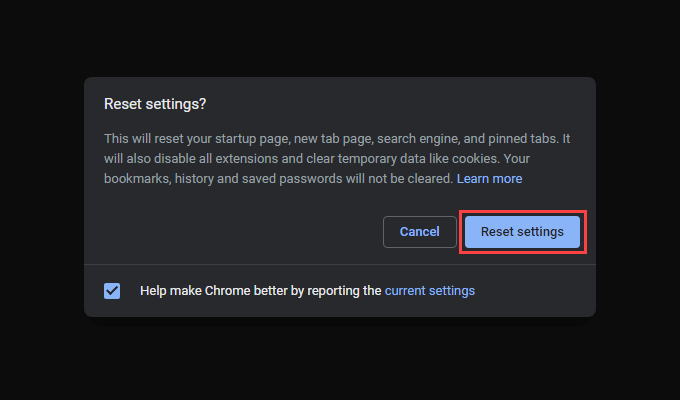
3. Select Reset settings to their original defaults > Reset settings.
Once Chrome finishes resetting itself, sign into the browser and re-activate any extensions. Then, try using it. You likely won’t encounter the error again.
Google Chrome: Connection Accepted
The pointers above should’ve helped you resolve the ERR_CONNECTION_REFUSED error in Google Chrome. Fixes such as resetting the DNS cache or renewing the DHCP lease work almost all the time, so don’t forget to run through them quickly should the problem recur. Just make it a point to check for server-side issues beforehand.
Subscribe on YouTube!
Did you enjoy this tip? If so, check out our YouTube channel from our sister site Online Tech Tips. We cover Windows, Mac, software and apps, and have a bunch of troubleshooting tips and how-to videos. Click the button below to subscribe!
Subscribe