It's not too difficult to deal with
Amazon’s Fire TV Stick relies on the internet to serve you content. If your device has trouble connecting to a Wi-Fi network, you won’t be able to watch videos, series, movies, or any other content on your TV. Luckily, we have a few ways to resolve your problem.
The above issue usually occurs when your device or router has minor technical glitches. You can fix these issues by tweaking a few options here and there on your device. Here’s how to do that.
Table of Contents
Check Your Wi-Fi Connection Status
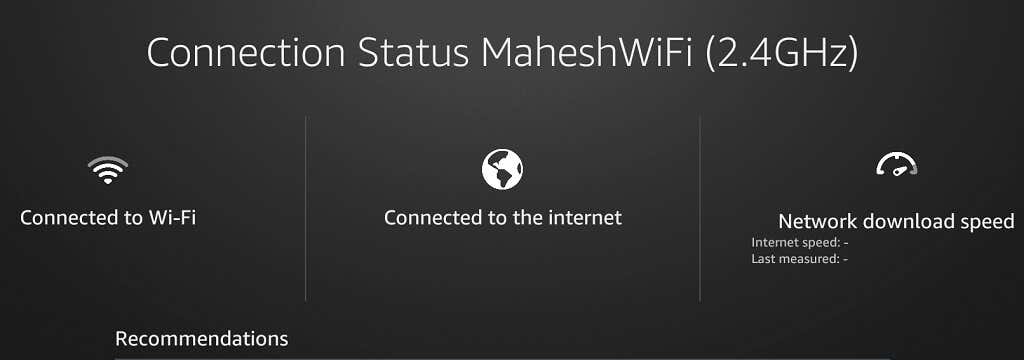
It’s possible your Fire TV Stick is connected to your Wi-Fi network but not the internet. This happens when your router can’t establish a connection with your internet service provider.
One way to check if that’s the case is by looking at the network status on your Stick.
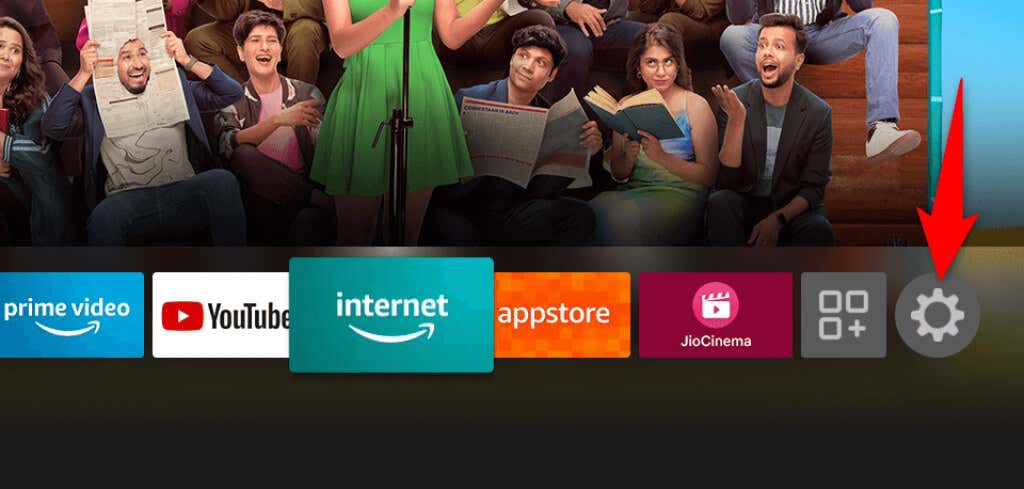
- Select Settings on your Fire TV Stick’s home screen.
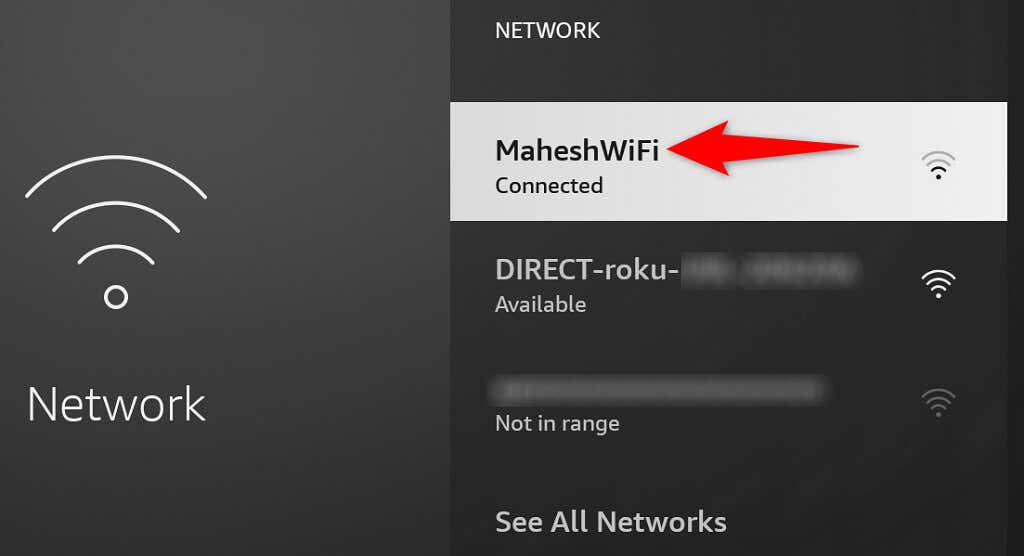
- Choose Network on the Settings page.
- Highlight your Wi-Fi network on the list and press the Play/Pause button on your Fire TV Stick remote.
- Your Fire TV Stick will display your internet connection details, also whether you’re connected to the internet or not.
Reboot Your Wi-Fi Router
If your Fire TV Stick is connected to the router but not the internet, your router is experiencing connectivity issues. In this case, reboot your router and see if that fixes the problem.
One way to restart most routers is to access your device’s web page in your web browser, open the Maintenance or similar tab, and choose Restart The Router.

If you aren’t sure how to do that, turn your router’s power socket switch off and back on. This will give your modem a reboot.
Then, try connecting your Fire TV Stick to your router and see if it works.
Restart Your Amazon Fire Stick
Your Fire TV Stick’s minor glitches can cause network issues like the one you’re experiencing. However, a quick fix to nearly all these problems is to reboot your Stick..
Restarting your Stick closes all the running services and apps and relaunches all those items. This helps fix many minor problems.
- Select the cog icon on your Fire TV Stick’s home screen.
- Choose My Fire TV in Settings.
- Select Restart in the menu that opens.
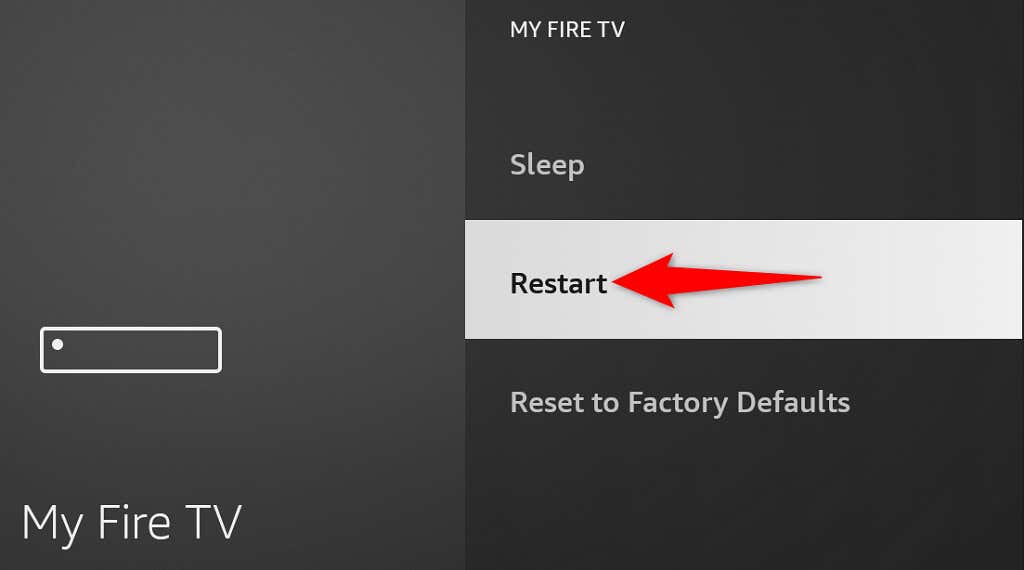
- Choose Restart in the prompt to confirm your choice.
- Connect your Fire TV Stick to your Wi-Fi network.
Forget and Rejoin Your Wi-Fi Network
When you face issues connecting your Fire TV Stick to your Wi-Fi network, it’s worth removing and re-adding your connection to the saved network list. This helps your device establish a fresh connection with your router.
You’ll need your Wi-Fi password to reconnect to your network, so keep that handy.
- Open Settings on your Fire TV Stick.
- Choose Network in Settings.
- Highlight your network on the list and press the Menu button (three horizontal lines) on your remote.
- Press the Select button on your remote to forget the network.
- After removing the network, select your network on the list.
- Enter your network’s password and select Connect.
Your Wi-Fi should now connect to your Fire TV Stick. If that’s not the case, keep reading.
Connect the Fire TV Stick to a Hidden Wi-Fi Network
If yours is a hidden Wi-Fi network (meaning it doesn’t broadcast its SSID), you’ll have to follow a specific procedure to connect your Fire TV Stick to that network. This is because you won’t find your network on the regular list.
Keep your Wi-Fi network’s password handy, as you’ll need that to make the connection.
- Access Settings on your Fire TV Stick.
- Select Network in Settings.
- Choose Join Other Network.
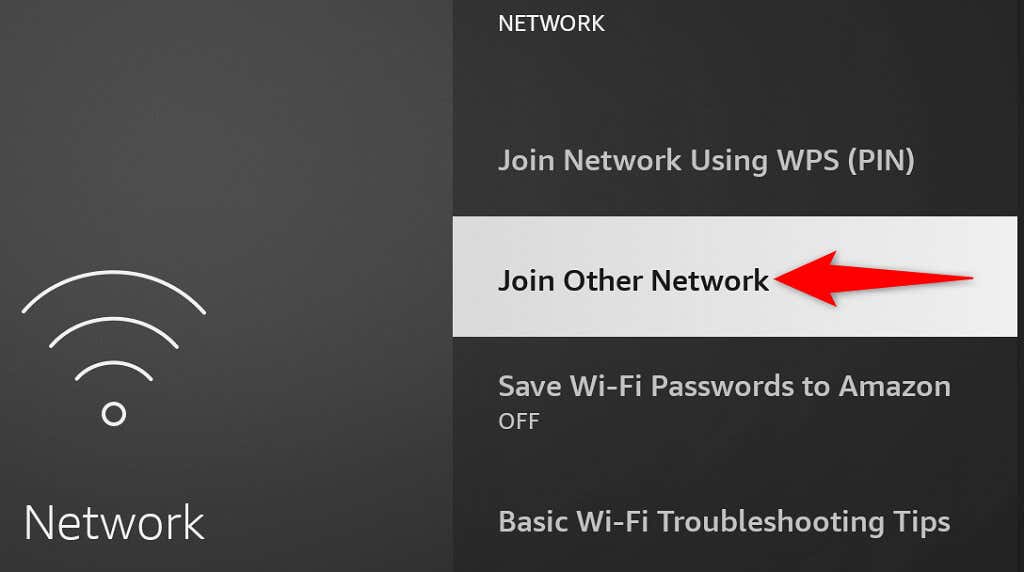
- Type the exact name of your Wi-Fi network and select Next.
- Choose the security type for your wireless network.
- Enter your network’s password and select Next.
- Review the entered details, and if everything looks good, choose Connect.
Update Your Amazon Fire TV Stick
Amazon often pushes various software updates for Fire TV Stick, so you have minimum bugs and issues with your device. Your Stick not connecting to Wi-Fi may be the result of a system bug, which you can resolve by updating your Stick’s software version.
So you’ll have to plug your device into Ethernet since the Wi-Fi connection isn’t working to be able to download the updates. When you’ve done that, follow these steps to get the latest updates:
- Open Settings on your Fire TV Stick.
- Select My Fire TV in Settings.
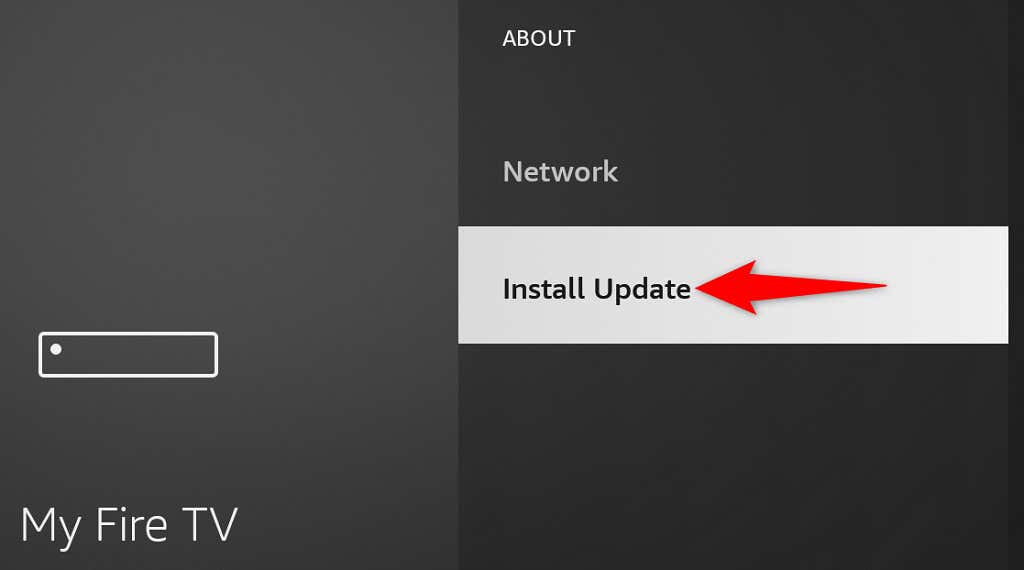
- Choose About.
- Select Check for Updates to find the latest software updates.

- Choose Install Update to begin installing the updates.
- Try connecting your Fire TV Stick to your Wi-Fi network.
Factory Reset Your Fire TV Stick
If nothing else works, reset your Fire TV Stick to the factory settings. Doing so erases all content and restores the default factory settings on your Stick. This helps fix the issues caused by your Stick’s faulty configuration.
Remember that you’ll lose all your installed apps and their data while resetting the Fire TV Stick. Once the reset is done, you can reinstall your favorite apps if you want.
- Launch Settings on your Fire TV Stick.
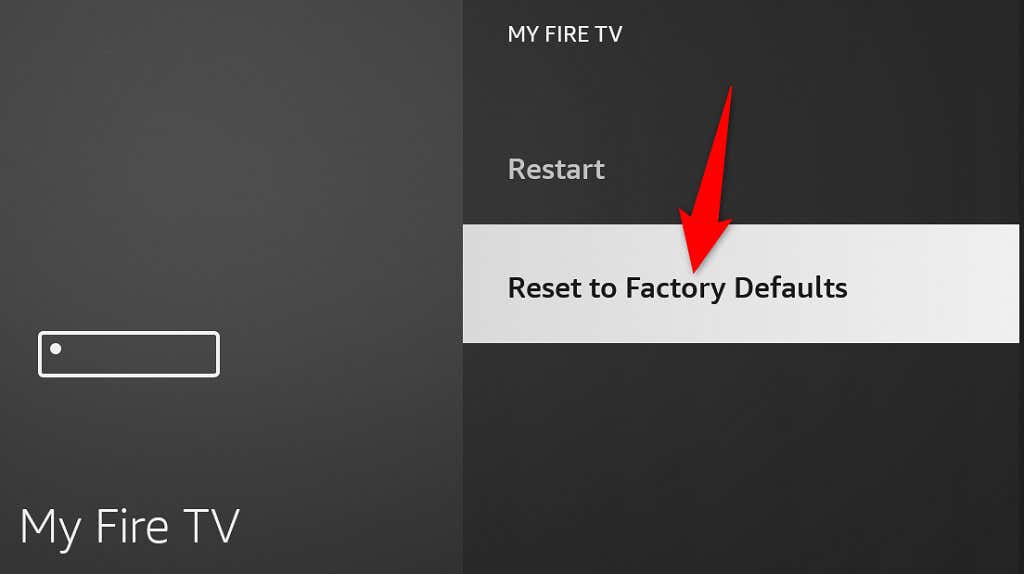
- Select My Fire TV in Settings.
- Choose Reset to Factory Defaults.
- Select Reset in the prompt that opens.

- Follow the on-screen reset instructions.
- Set up your Fire TV Stick from scratch.
Get Around Fire TV Device’s Wi-Fi Connection Problems
Fire TV Stick’s Wi-Fi connection problems aren’t too difficult to deal with. You can fix most minor glitches causing the issue by rebooting your Stick, changing a few options on the Stick, or restarting your router.
Once you’ve done that, your streaming device will connect to the internet, allowing you to access all your multimedia content. Enjoy!
Subscribe on YouTube!
Did you enjoy this tip? If so, check out our YouTube channel from our sister site Online Tech Tips. We cover Windows, Mac, software and apps, and have a bunch of troubleshooting tips and how-to videos. Click the button below to subscribe!
Subscribe