If you want to subtly emphasize a word or phrase in your Microsoft Word document, you can apply “small caps” to the text. This formats the font with all capital letters while slightly reducing the size.
You can use small caps in Word on Windows and Mac easily. The feature isn’t currently available in Word for the web or the Word mobile app; however, there is a workaround you can use if you like. Let’s take a look.

Apply Small Caps in Word on Windows
To format a word, phrase, sentence, or paragraph as small caps in Word on Windows, follow these simple steps.
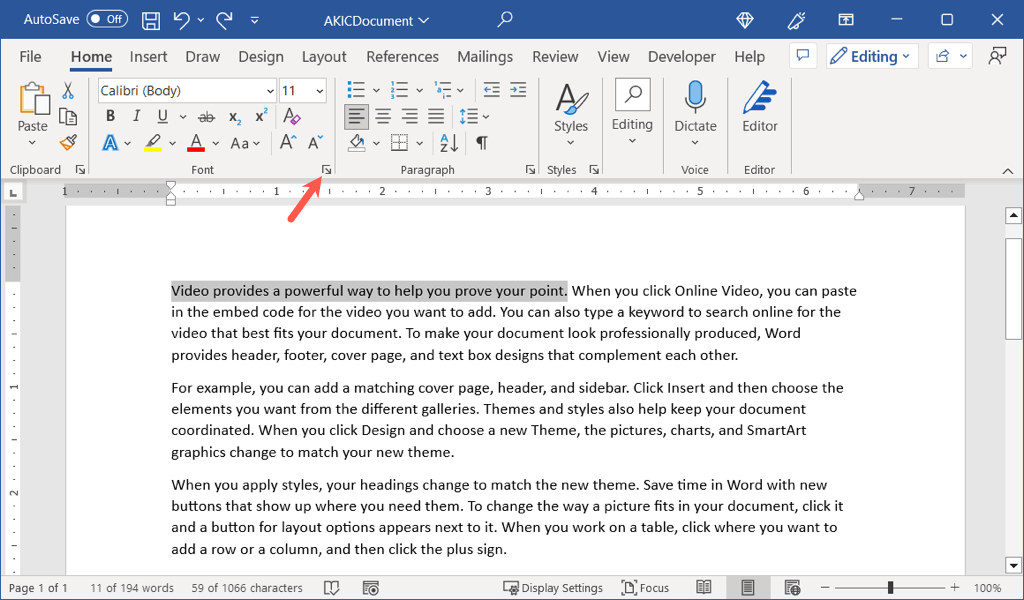
- Select the text. You can do this by double-clicking a word, triple-clicking a paragraph, or dragging your cursor through the entire string.
- Right-click and choose Font or open the Font launcher by clicking the arrow in the bottom right corner of the Font group on the Home tab.
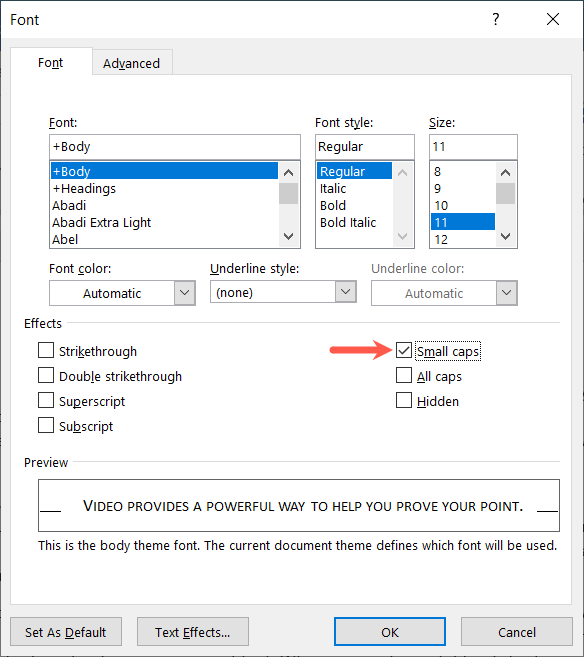
- In the Font dialog box that appears, make sure the Font tab is selected. Then, check the box for Small caps in the Effects section. Select OK to apply the formatting.
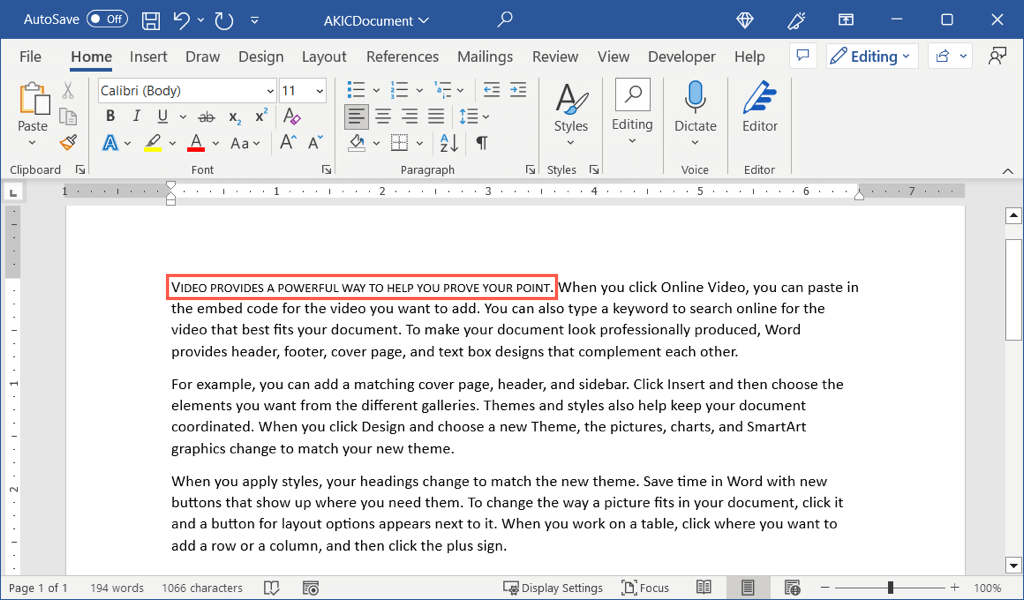
You’ll then see your existing text update to small caps.
Tip: For a quick way to apply small caps, use the keyboard shortcut Ctrl + Shift + K.
Apply Small Caps in Word on Mac
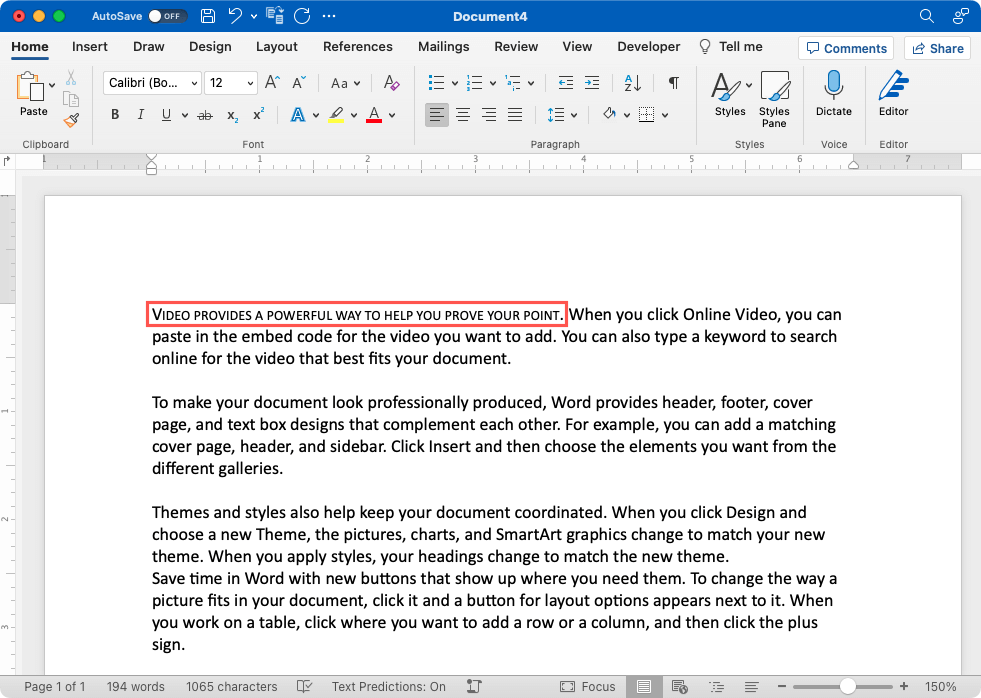
You can format your text as small caps in Word for Mac as easily as Word on Windows, just slightly differently.
- Select the text you want to format by double- or triple-clicking or dragging your cursor through it.
- Right-click and choose Font or select Format > Font from the menu bar.

- In the Font window, confirm you’re on the Font tab and mark the Small caps checkbox in the Effects section. Select the OK button to apply the formatting.

You can then see that your selected text is displayed in small caps.
Tip: For a fast way to do small caps, use the keyboard shortcut Command + Shift + K.
Apply Small Caps in Word on the Web
As mentioned, the small caps effect isn’t available in Word on the web. One way to mimic this is by changing the text case and then decreasing the font size.
- Select the text you want to format by double- or triple-clicking or dragging your cursor through it.
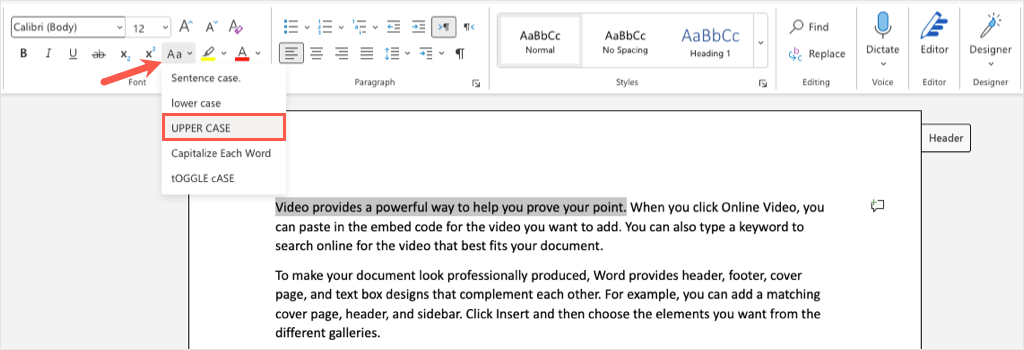
- Go to the Home tab and open the Change Case drop-down menu in the Font section. Select UPPER CASE.
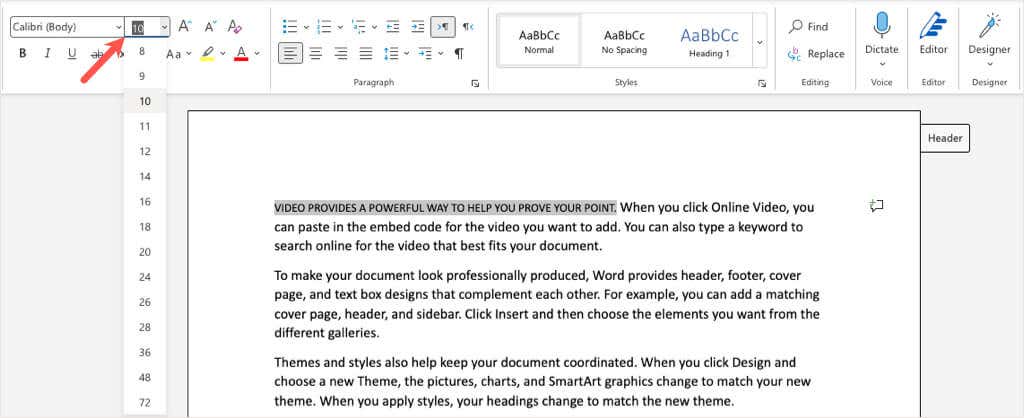
- With your text still selected, use the Font Size drop-down box in the same Font section to choose a smaller size.
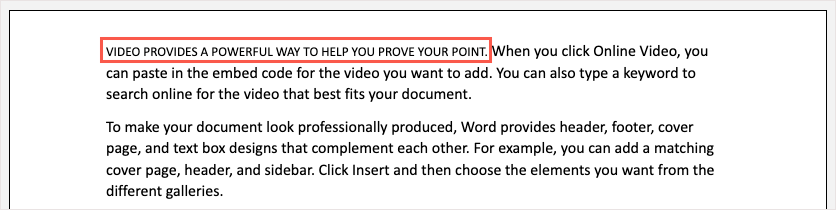
You’ll then see your text appear in a small caps format. While maybe not the ideal solution, it works.
Apply Small Caps in Word on Mobile
Like Word on the web, the mobile app for Android and iPhone doesn’t offer the small caps option. However, you can use the same workaround to apply all caps and reduce the font size.
- Select the text you want to format by tapping to highlight a word and then dragging the blue circle or indicator to select any remaining words.
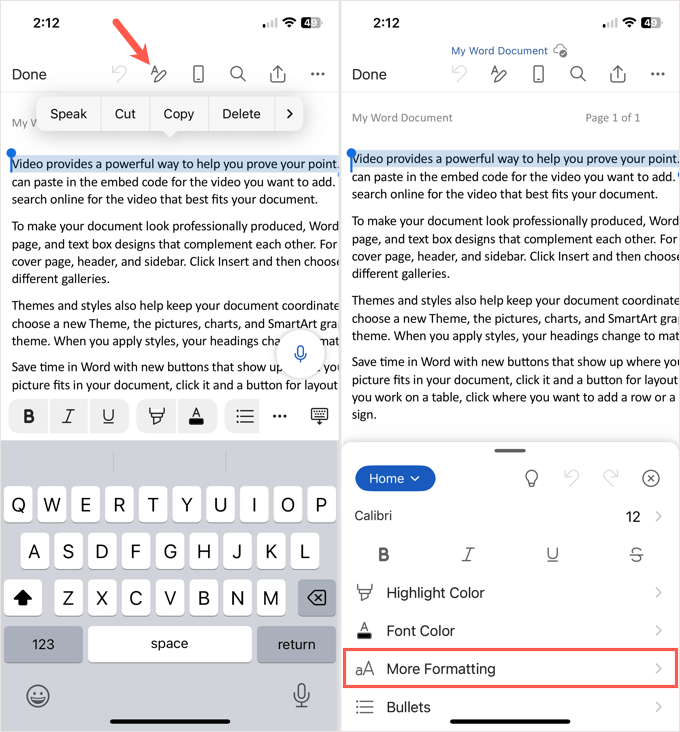
- On Android, tap Edit in the toolbar or on iPhone, tap the Format button at the top.
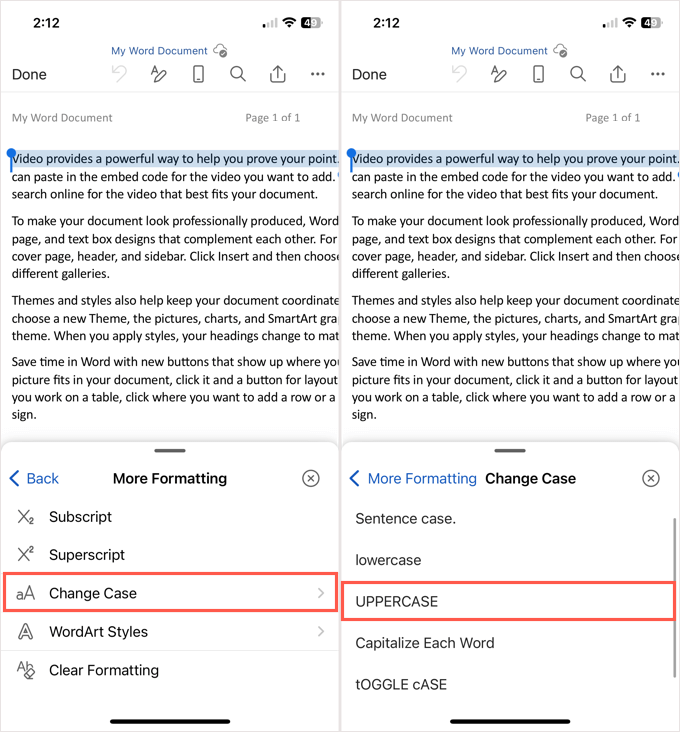
- When the menu displays at the bottom, confirm you’re in the Home section and pick More Formatting.
- Select Change Case and choose UPPERCASE. Use the arrow on the top left of the bottom pop-up screen to return.
- Tap the Font Size option and use the slider, minus button, or list to pick a smaller font size.
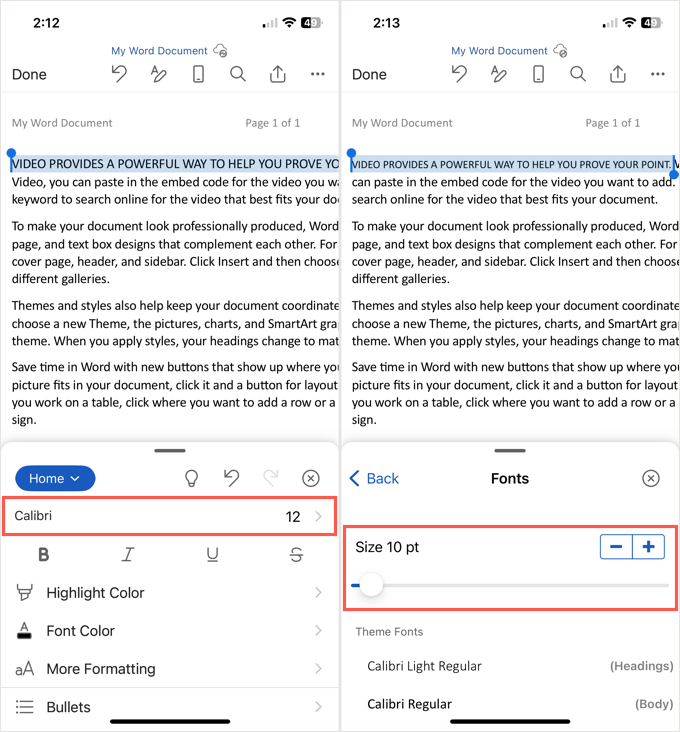
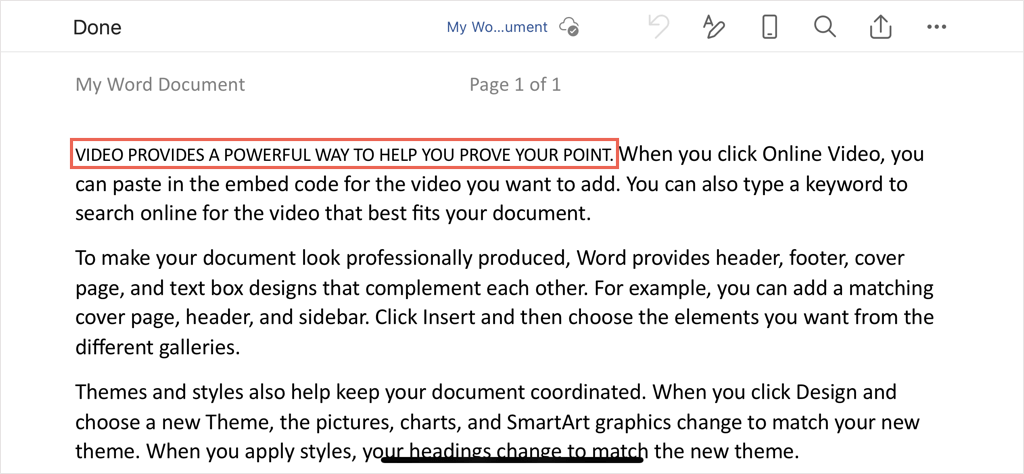
Swipe to close the bottom screen, and your text will be updated to resemble the small caps formatting.
Stop Yelling, Emphasize Subtly
By formatting your text with a small caps font in Word, you can add emphasis to words or other text without making those words jump off the page as if you’re yelling at the reader.
With any luck, Microsoft will bring the official small caps feature to Word on the web and the mobile app. Until then, hopefully the workaround described here helps you accomplish what you need.
For more Microsoft Office tutorials, look at how to vertically align text in Word.