2 completely free options to try
Nowadays, if you want to listen to music, you would either stream it through a service such as Spotify, or buy the digital file from Amazon or iTunes. But if you have a big stack of old CD’s cluttering up your house, and you’ve sat and ripped them all to MP3 files, it’s then time to make sure that each song’s metadata is correct.
Metadata is the information which your music player presents to you when you play the song. Without metadata, your song may be presented on your player as “song.mp3” sung by “unknown” with no cover art to go along with it. Which makes it rather difficult to browse through your song collection to find the one you want.
Table of Contents
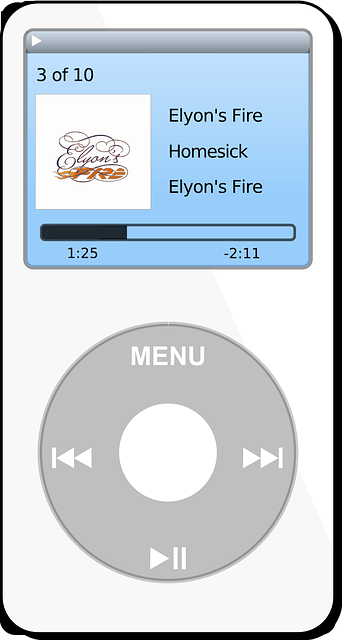
But with metadata, your song may now say “Bohemian Rhapsody” by “Queen”, and there will be a nice album cover to go with it.
If you have ripped the CD properly, metadata is usually transferred over automatically. But if you have cheap CD’s given away in free magazine promotions or you simply hashed up the whole ripping process, the metadata may either be a mess or totally non-existent. In that scenario, you need to find a way of quickly correcting the files. Doing them one-by-one is extremely tedious and time consuming.
For me, there are two good options.
MP3tag (Windows Only)
MP3tag is a piece of freeware which is really easy to use, but unfortunately it is available only for the Windows platform. There is also a portable version available which I keep on my USB stick and use often.
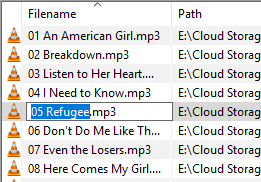
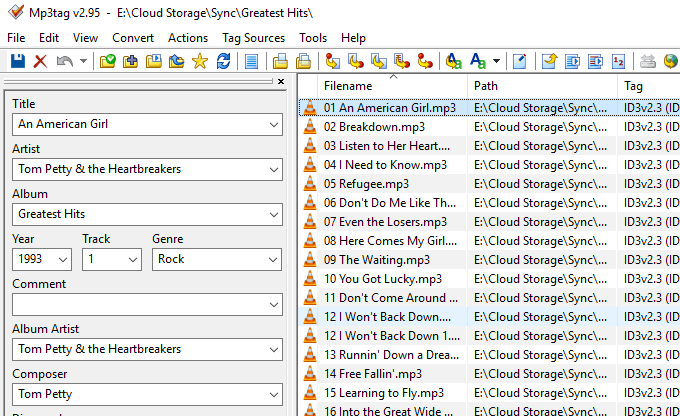
Once you have installed and launched MP3tag, choose “Change directory” and navigate to where the MP3 folder is that you want to fix.

Once you have chosen the folder, the music within will now appear. However, as the name of the program heavily implies, only MP3 files will show and can be changed. With MP3 files on the way out and m4a and FLAC becoming more popular, MP3tag may eventually become obsolete.
If you use the scroll bar along the bottom, you can see all of the metadata available. You can also see what information is missing with the gaps in the list.
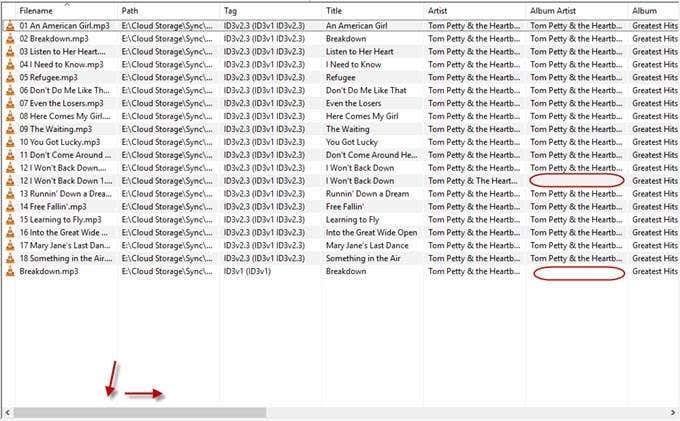
You can directly type into those gaps and changes will be saved when you click outside them.
You can also copy and paste (CTRL+C and CTRL+V) from other metadata fields to save yourself some typing time.
If you click on a song, you can fix metadata on the left-hand side such as the title, track number, album name, genre, and much more.
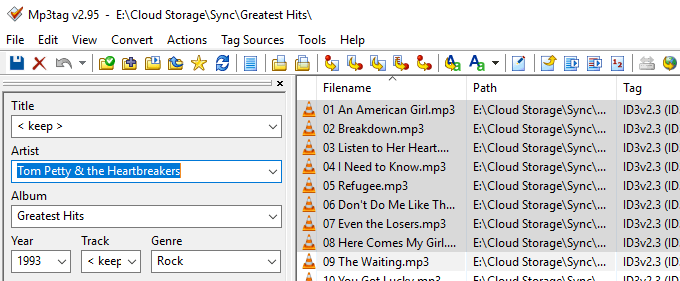
You can also batch-rename metadata by highlighting more than one song, then changing it on the left. The metadata will be instantly saved in all highlighted files. But to save the changes permanently, you must click the blue disk button in the top left hand corner (under the File menu).
For artwork, I would recommend getting the images from iTunes Artwork Finder, which also hosts high-definition versions, and pulls the images directly from the iTunes API. Then highlight the songs that need artwork and drag the image into the square at the bottom of the screen.
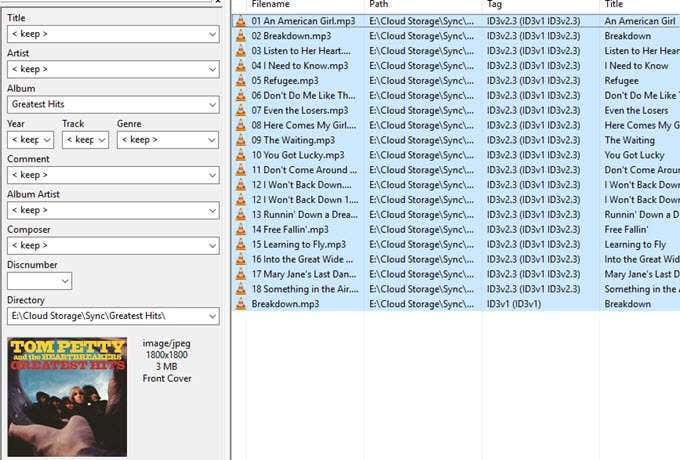
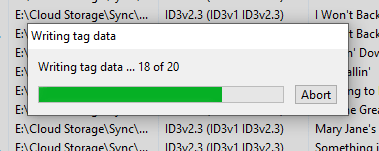
Now click the blue save disk icon to update all of your MP3 files permanently.
iTunes (Cross-Platform)
If you are an Apple fan or you only have access to a MacBook, then the best solution is to use iTunes. If you used iTunes to rip the CD then you may well decide it’s faster and easier to just use it to fix the metadata too, instead of downloading another program such as MP3tag to do the job.
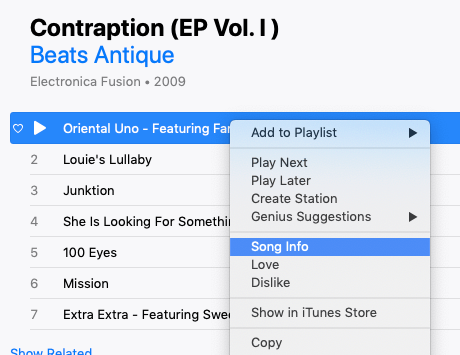
When you have ripped the CD in iTunes, right-click on any song file you want to edit and choose “Song Info”.
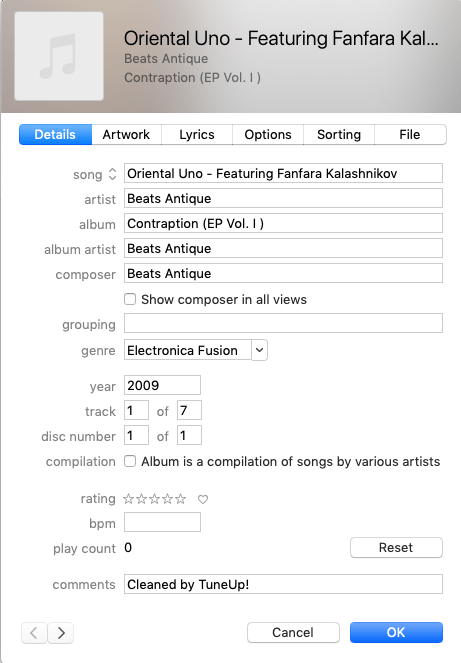
You’ll now see all of the available metadata. Change what needs changing and enter anything that’s missing. Click “OK” at the bottom to save all of your changes.
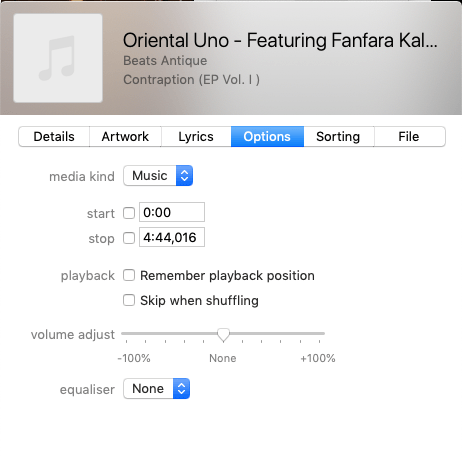
Under “Options”, make sure the media kind is set to “music”. If you’ve ripped a YouTube video as mp3, iTunes sometimes mistakes the file as a video file..
“Artwork” is where you can put the album art. You can either drag in an image or click “Add artwork” to navigate to the image’s location on your computer.
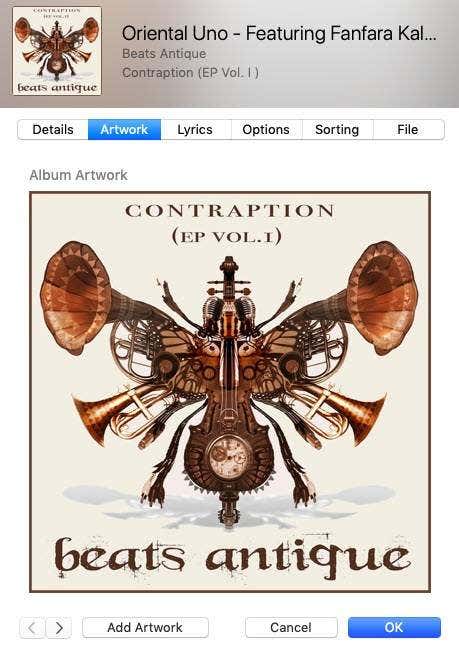
Click “OK” at the bottom to save all of your changes.
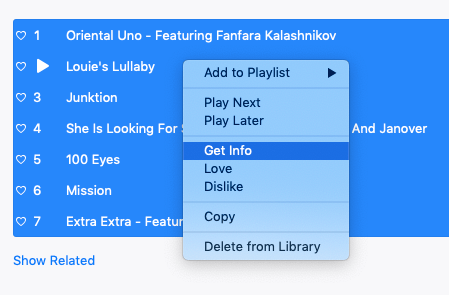
Like MP3tag, you can also highlight multiple song files and batch change details on them using the “Get info” menu option.
Subscribe on YouTube!
Did you enjoy this tip? If so, check out our YouTube channel from our sister site Online Tech Tips. We cover Windows, Mac, software and apps, and have a bunch of troubleshooting tips and how-to videos. Click the button below to subscribe!
Subscribe