Soon it will be sleeping with the fishes
Whether you’re dealing with a slow computer or just noticed a bunch of bloatware hogging all resources, killing the offending processes in Windows is the best method to deal with the problem.
Not only does this boost the performance of your PC, but it can also help stave off spyware and viruses. And before you ask: no, it’s not hard to kill a process in Windows 10. We’ll go over all the different ways you can do this safely and easily.
Table of Contents

Why Kill a Process in Windows 10?
Each running application in Windows is composed of one or more “processes.” These processes are responsible for writing things to memory, reacting to user input, and performing all the actual work behind a computer program.
The thing is, not all processes are represented by an active window on your desktop. Windows system processes, for example, run quietly in the background without any explicit permission from the user.
And this is where the problem arises. Many unwanted applications like viruses or bloatware also run as hidden processes in the background, consuming resources and slowing down your computer. You can safely shut down even some Windows processes without impacting your computer.
Killing Unnecessary Processes With the Task Manager
The Windows Task Manager is the default tool for managing programs and processes on your computer. You can use it to view, analyze, or even terminate running applications and processes.
Its only drawback is its limited permissions. The Task Manager cannot kill protected processes (including system tasks and some viruses). In addition, it can be tedious to manually select and terminate all the target processes each time you run your computer.
- To open the Task Manager, press Ctrl+Alt+Delete on your keyboard. Another way is to right-click anywhere on the Taskbar and select it from the menu that opens up.

- By default, Task Manager opens in a streamlined view that displays only the names of the running apps themselves. Select More details to see all the processes.

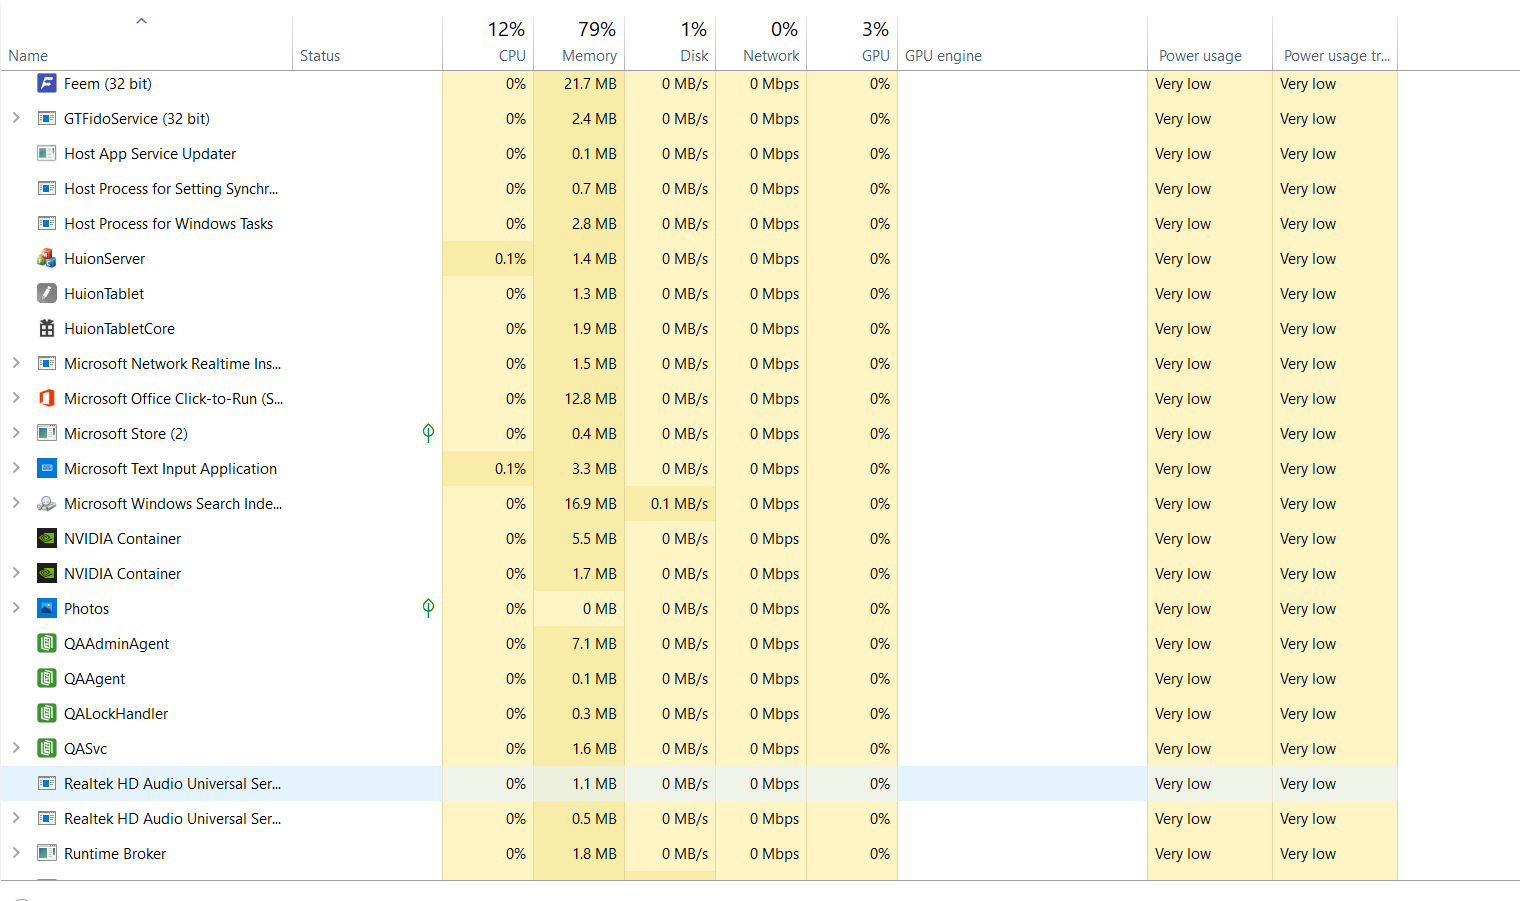
- Now you can see all the tasks running on your computer. They are split into the visible Apps and the invisible Background processes. You can see the CPU, Memory, Disk, and Network usage of each process on the right. Select any of the categories to sort the processes by resource usage.

- Look for the processes unrelated to any running app or useful services, and select them.

- You can also switch to the Details tab to get a more detailed overview of the processes. By looking at the User name, you can quickly identify which processes belong to the system.

- In either of these tabs, select the End task button at the bottom right to kill the process. The task will be terminated and disappear from the list.

Using Command Prompt to Kill a Process in Windows
If you prefer command-line tools, then you can kill a process using CMD too. The Command Prompt gives access to many useful utilities, including one called Taskkill.
As the name suggests, you can use Taskkill to kill any running task or process. If you run CMD as an administrator, you can even kill protected tasks.
- To use Taskkill, first open the Command Prompt. Type cmd in the search box and click on Run as administrator in the right-hand pane.

- Before you can use Taskkill, you need to know either the name or PID of the task in question. Enter tasklist to get a list of all the running processes on your computer.

- Now, you can use the Taskkill command in two ways. To use the PID, type taskkill /F /PID x, where x is the PID of the process you want to kill. You’ll be notified if the operation is successful.

- If you want to enter the name instead, use taskkill /IM “x” /F, where x is the name of the process in question.

It may seem counter-intuitive to use a command-line tool when the Task Manager can do the same without any need for typed commands. This is because we have only touched upon the most basic way to use Taskkill. There are many other ways to filter the processes without having to look through them manually.
PowerShell
CMD is not the only method to kill Windows processes with typed commands. Powershell is Windows’ built-in scripting language that offers many similar capabilities. In a way, Powershell is just a more verbose form of the Command Prompt.
The power of Powershell comes from its ability to create scripts of commands, which Windows can execute at leisure. This allows you to automate complex tasks on Windows.
- First, let us open PowerShell. Type PowerShell in the search bar and click on Run as administrator.

- The PowerShell window will open up. It looks remarkably similar to the Command Prompt, just with a different background color.

- Enter Get-Process to obtain a list of all the running processes on your computer.

- To end a process, you can use either the PID or the name. For example, type Stop-Process -ID x -Force, where x is the PID to end any process.

- Using the command does not produce any acknowledgment from the program, making it seem that nothing has happened. But that is its normal behavior for a successful operation. If you enter the wrong name, for example, you get an error message.

- Use the command Stop-Process -Name “x” -Force, where x is the name of the process, to kill the process. This time, the command is successful.

If PowerShell seems underwhelming to you, it’s because we are using it like cmd. PowerShell is meant to create autonomous scripts that perform complex tasks independently, without any real-time feedback or input. While you can use it this way, the Command Prompt is frankly better at it.
Using KillProcess
So far, we have looked at tools and utilities present in your computer by default. While these certainly can get the job done, they lack some useful features present in third-party tools.
KillProcess is one such advanced task managing program. In addition to its ability to kill protected system processes, it also allows for creating a “Kill List”. Processes added to this list are automatically killed as soon as they enter active memory. This can be a great method to permanently shut down pesky bloatware.
- To begin, download KillProcess from the official website. There is both an installer and a portable version that you can use without any installation.

- Upon running the app, you will be greeted with a task manager-like window. All the running processes on your computer are displayed in a list, along with their descriptions and memory usage.

- Right-click on the process you want to kill, and select Add to List.

- Processes added to the kill list show up with a green tick icon. To kill the processes of the list, click on the dynamite button on the bottom left.

The best thing about this approach is that you don’t have to kill each process one by one. This Kill List remains saved even after you exit the program, so you only need to run KillProcess itself to terminate all unwanted processes at once.
Many Ways to Kill a Process in Windows 10
There are multiple ways to kill a process in Windows 10. The most straightforward method is to use the Task Manager. It allows you to view and terminate processes in an easy-to-understand GUI format.
In case the Task Manager cannot kill the process, you need to use something more powerful. You can either try a third-party tool like KillProcess or use command-line tools to kill the protected process.
To permanently shut down unnecessary background processes, prevent them from starting up automatically, or add them to KillProcess’ kill list.
Subscribe on YouTube!
Did you enjoy this tip? If so, check out our YouTube channel from our sister site Online Tech Tips. We cover Windows, Mac, software and apps, and have a bunch of troubleshooting tips and how-to videos. Click the button below to subscribe!
Subscribe